Law agencies and insurance litigators rely on 3D scanners and 3D printing technology for accurate analysis of vehicle dynamics, car crash reconstruction, and anatomical models with accurate surface finishes.
Scanning Vehicle Collisions
Whether documenting severe accident scenes or controlled crash scenes from a car safety testing lab, there are 3 main techniques for capturing crumpled vehicles for the 3D Scan-to-Print process:
- 3D Laser scanners
- Structured-light scanners
- Photogrammetry
3D Laser Scanners
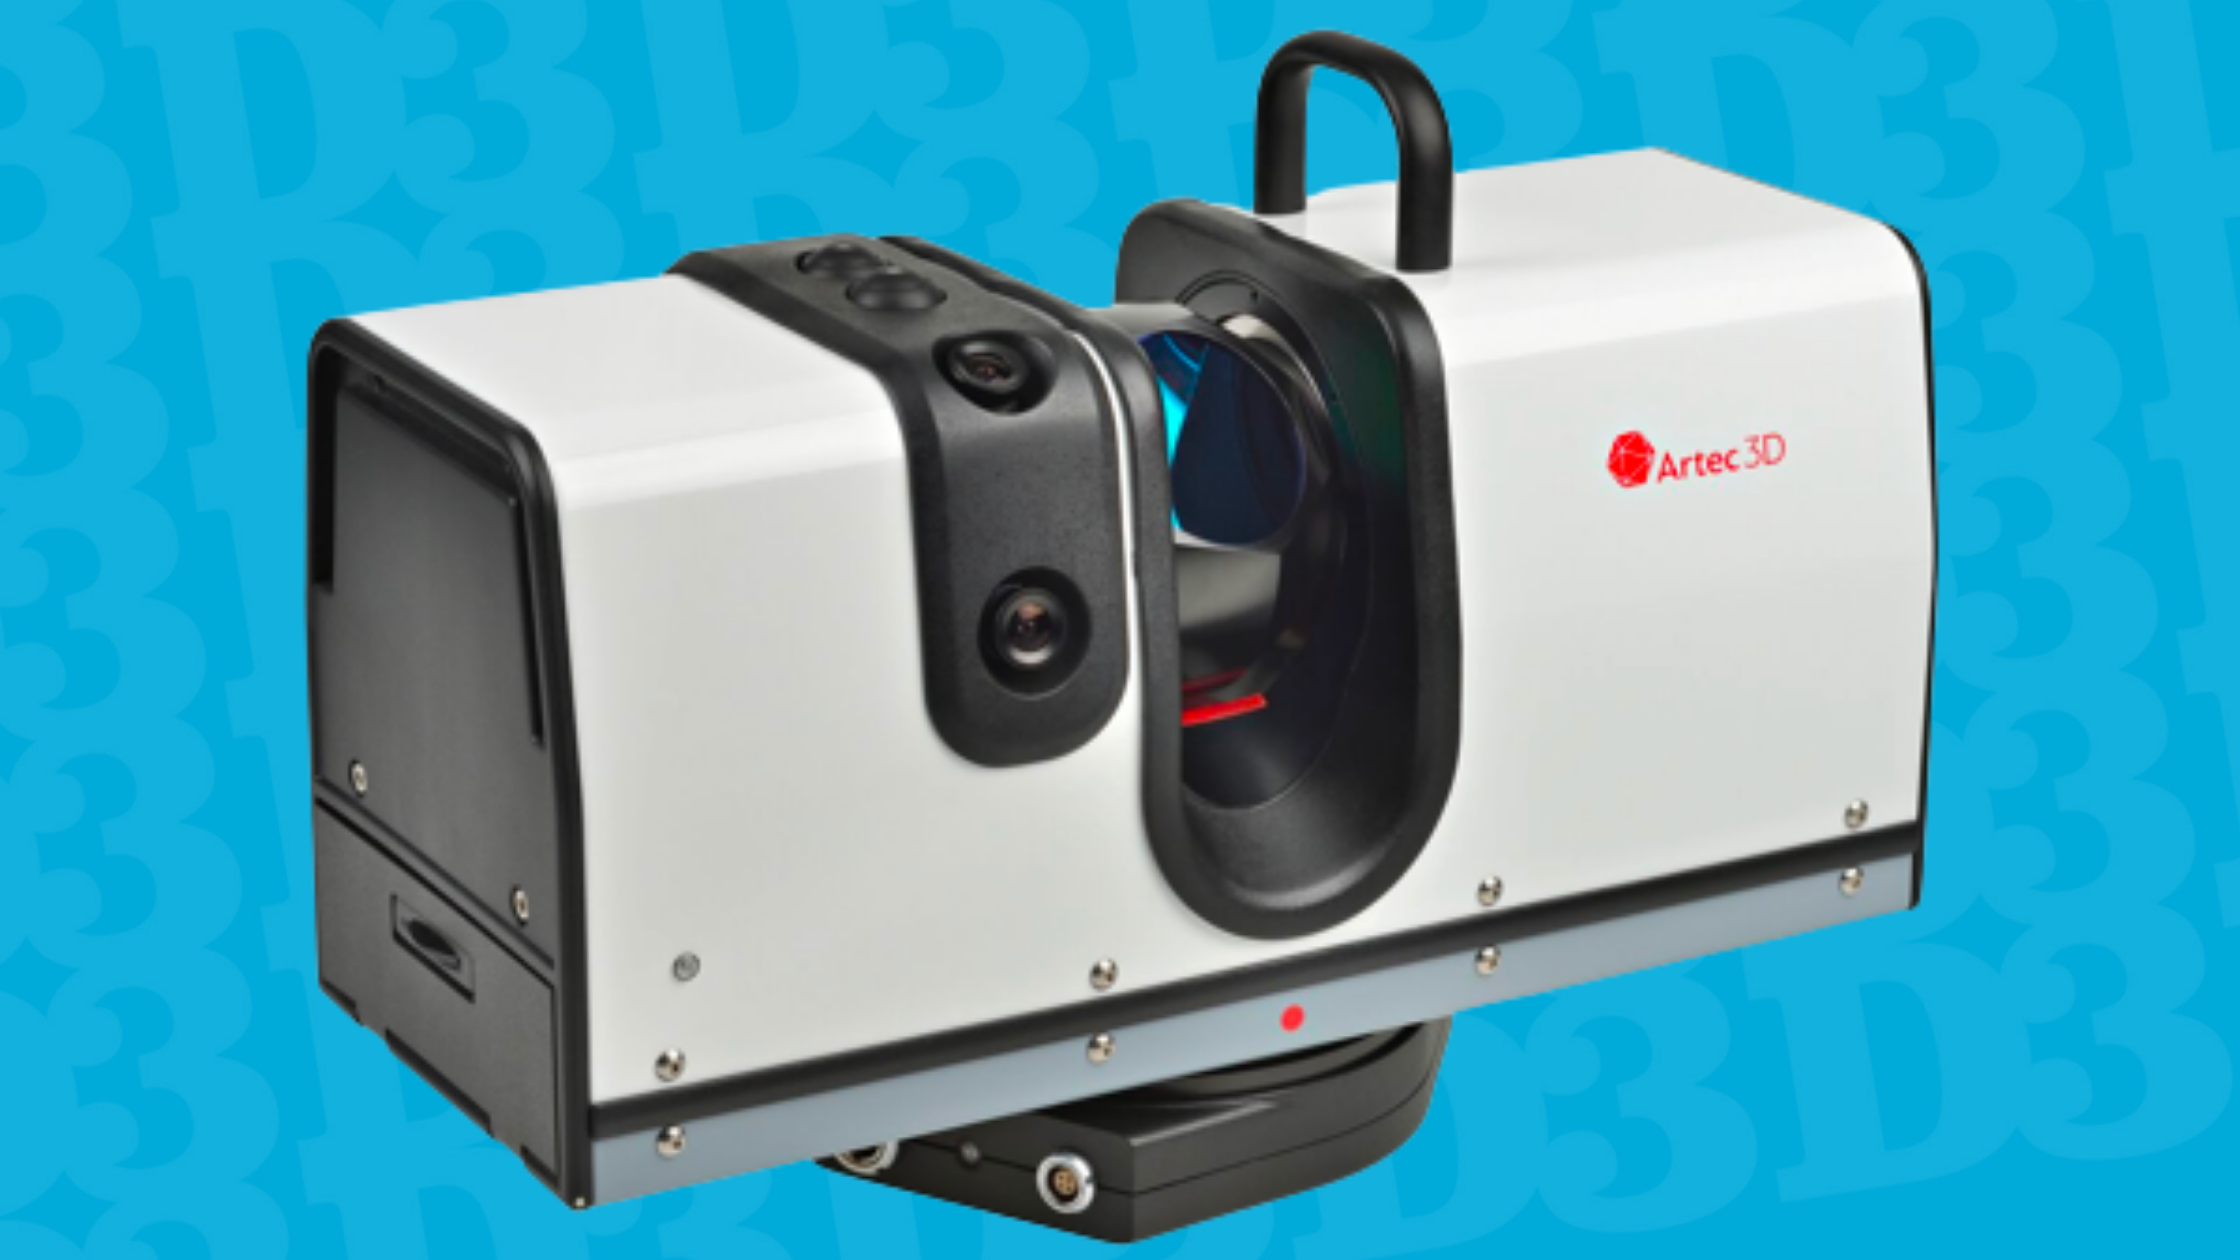
Laser scanners emit a rapidly pulsing or continuous laser beam while rotating 360° from a tripod and sweeping the area.
When the beam reflects from the accident vehicle, the scanner calculates and records each distance measurement scan, which results in 3D coordinates that create a detailed 3D point cloud model.
At 3D Musketeers, we utilize the Artec Ray 3D Laser Scanner for submillimeter accuracy at long distance ranges.
Our laser scanner can scan the entirety of the Raymond James Stadium or the Statue of Liberty in one scan from a football field distance away with accuracy within the thickness of a credit card!
In reality, we would capture at least 6-scans of the accident vehicle exterior from a distance of 5-15 meters.
This process takes about 3 hours.
Structured-Light 3D Scanners
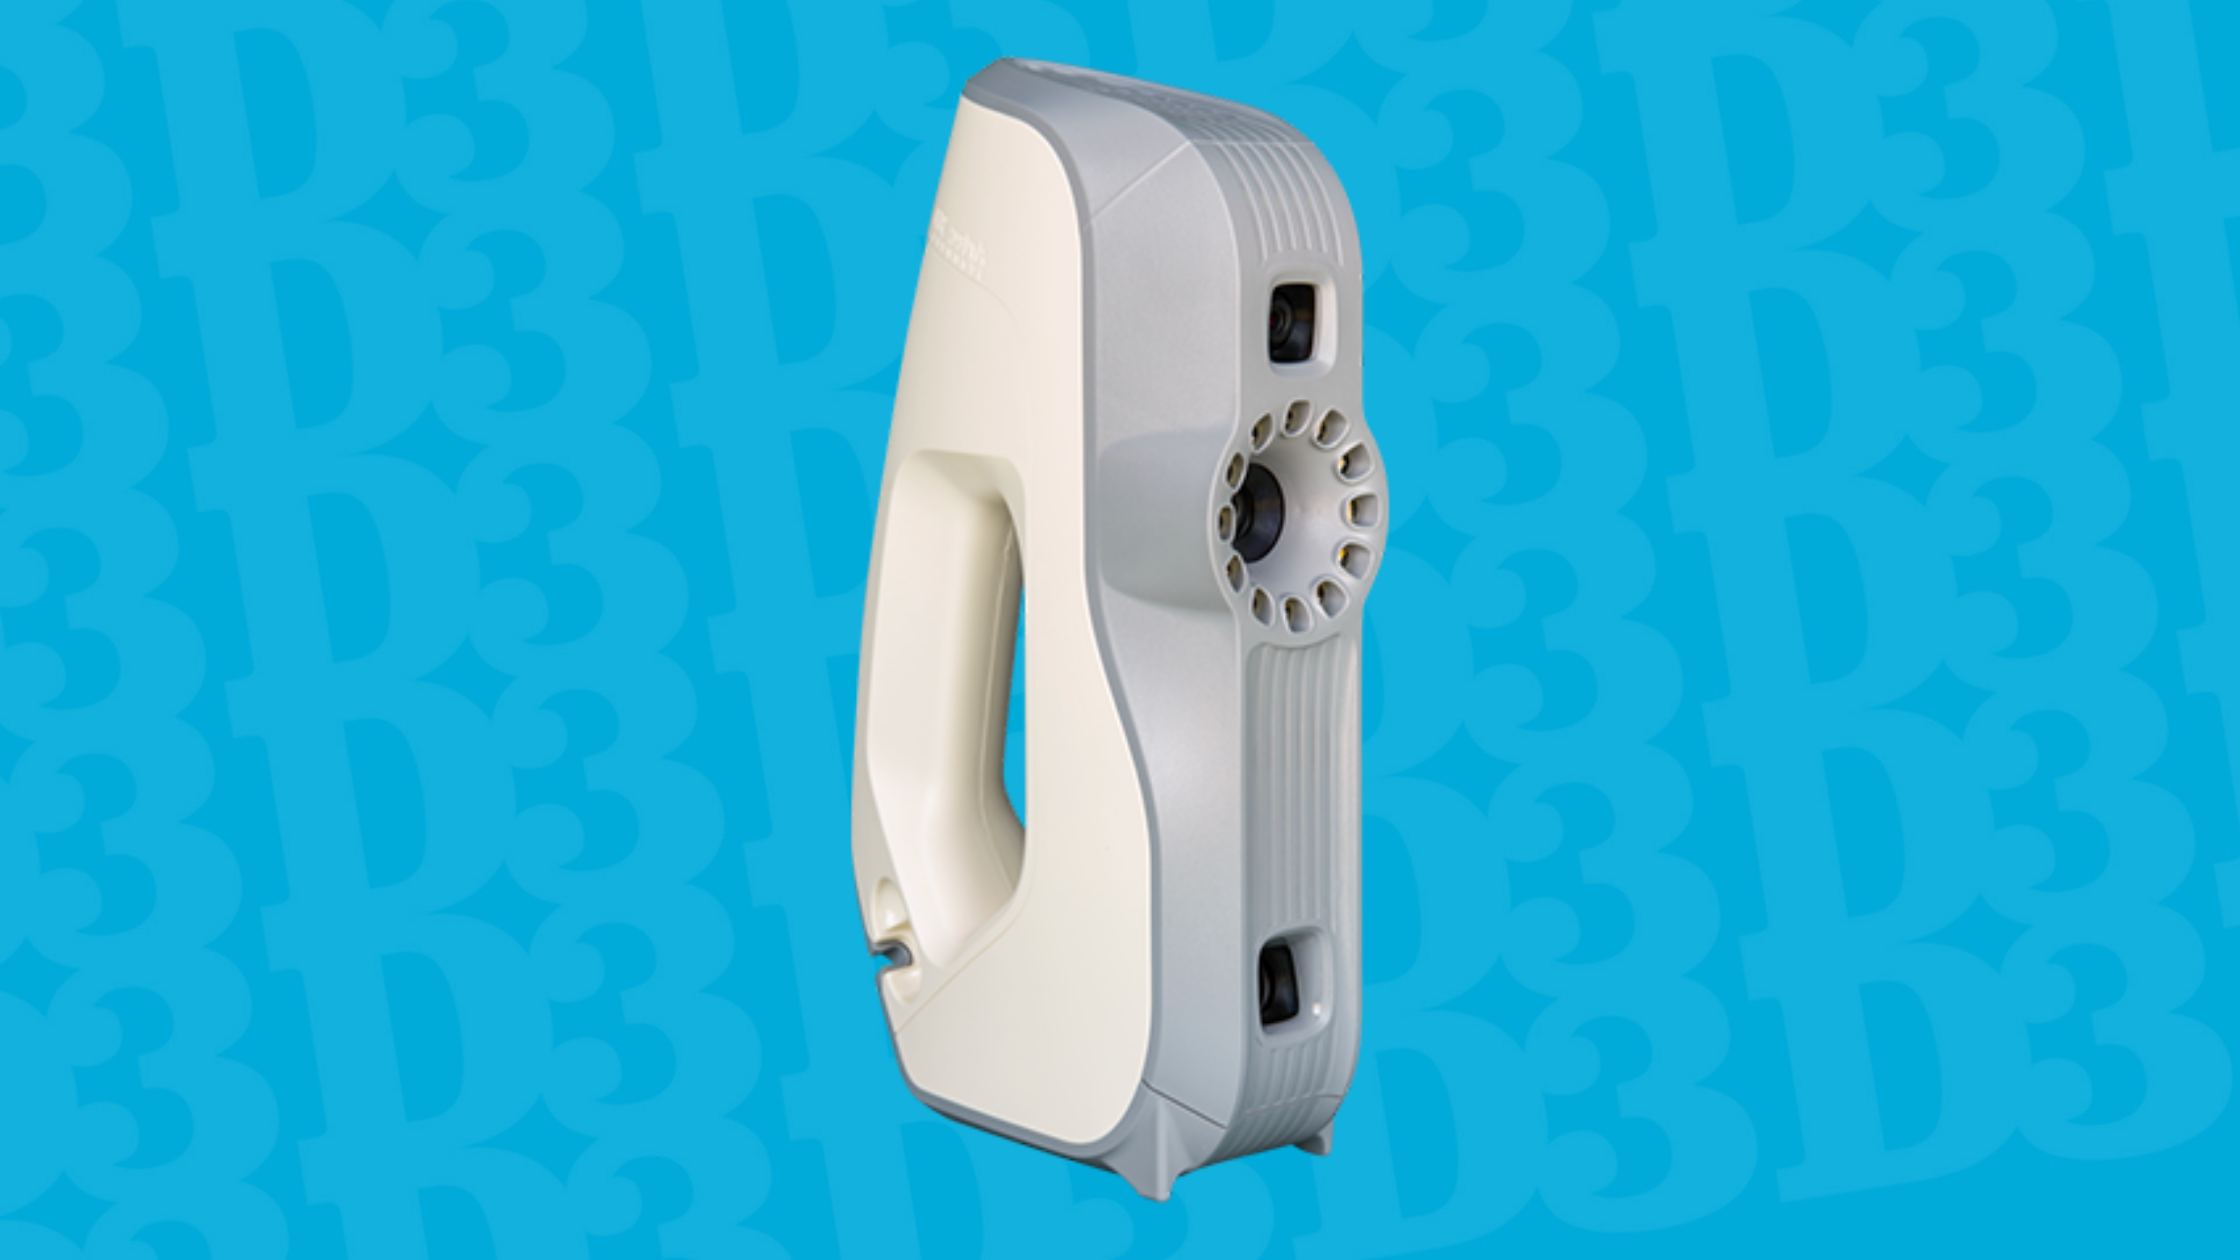
Structured-light scanners project 3 to 10 patterns of light onto the accident vehicle.
As the light patterns deform around the accident vehicle, the scanner aligns those curvatures in software to create a 3D model.
At 3D Musketeers, we use the Artec Eva: a short-range structured-light 3D scanner for scanning the finite details of the accident vehicle, such as the interior.
It takes approximately 5 to 6 hours to capture the details of the incident.
Details are vital! They create depth and build the bigger picture.
We utilize the Artec Ray and the Artec Eva to form the most in-depth 3D model.
With both scanners, the typical crash scene scanning process takes about 6-8 hours.
Photogrammetry
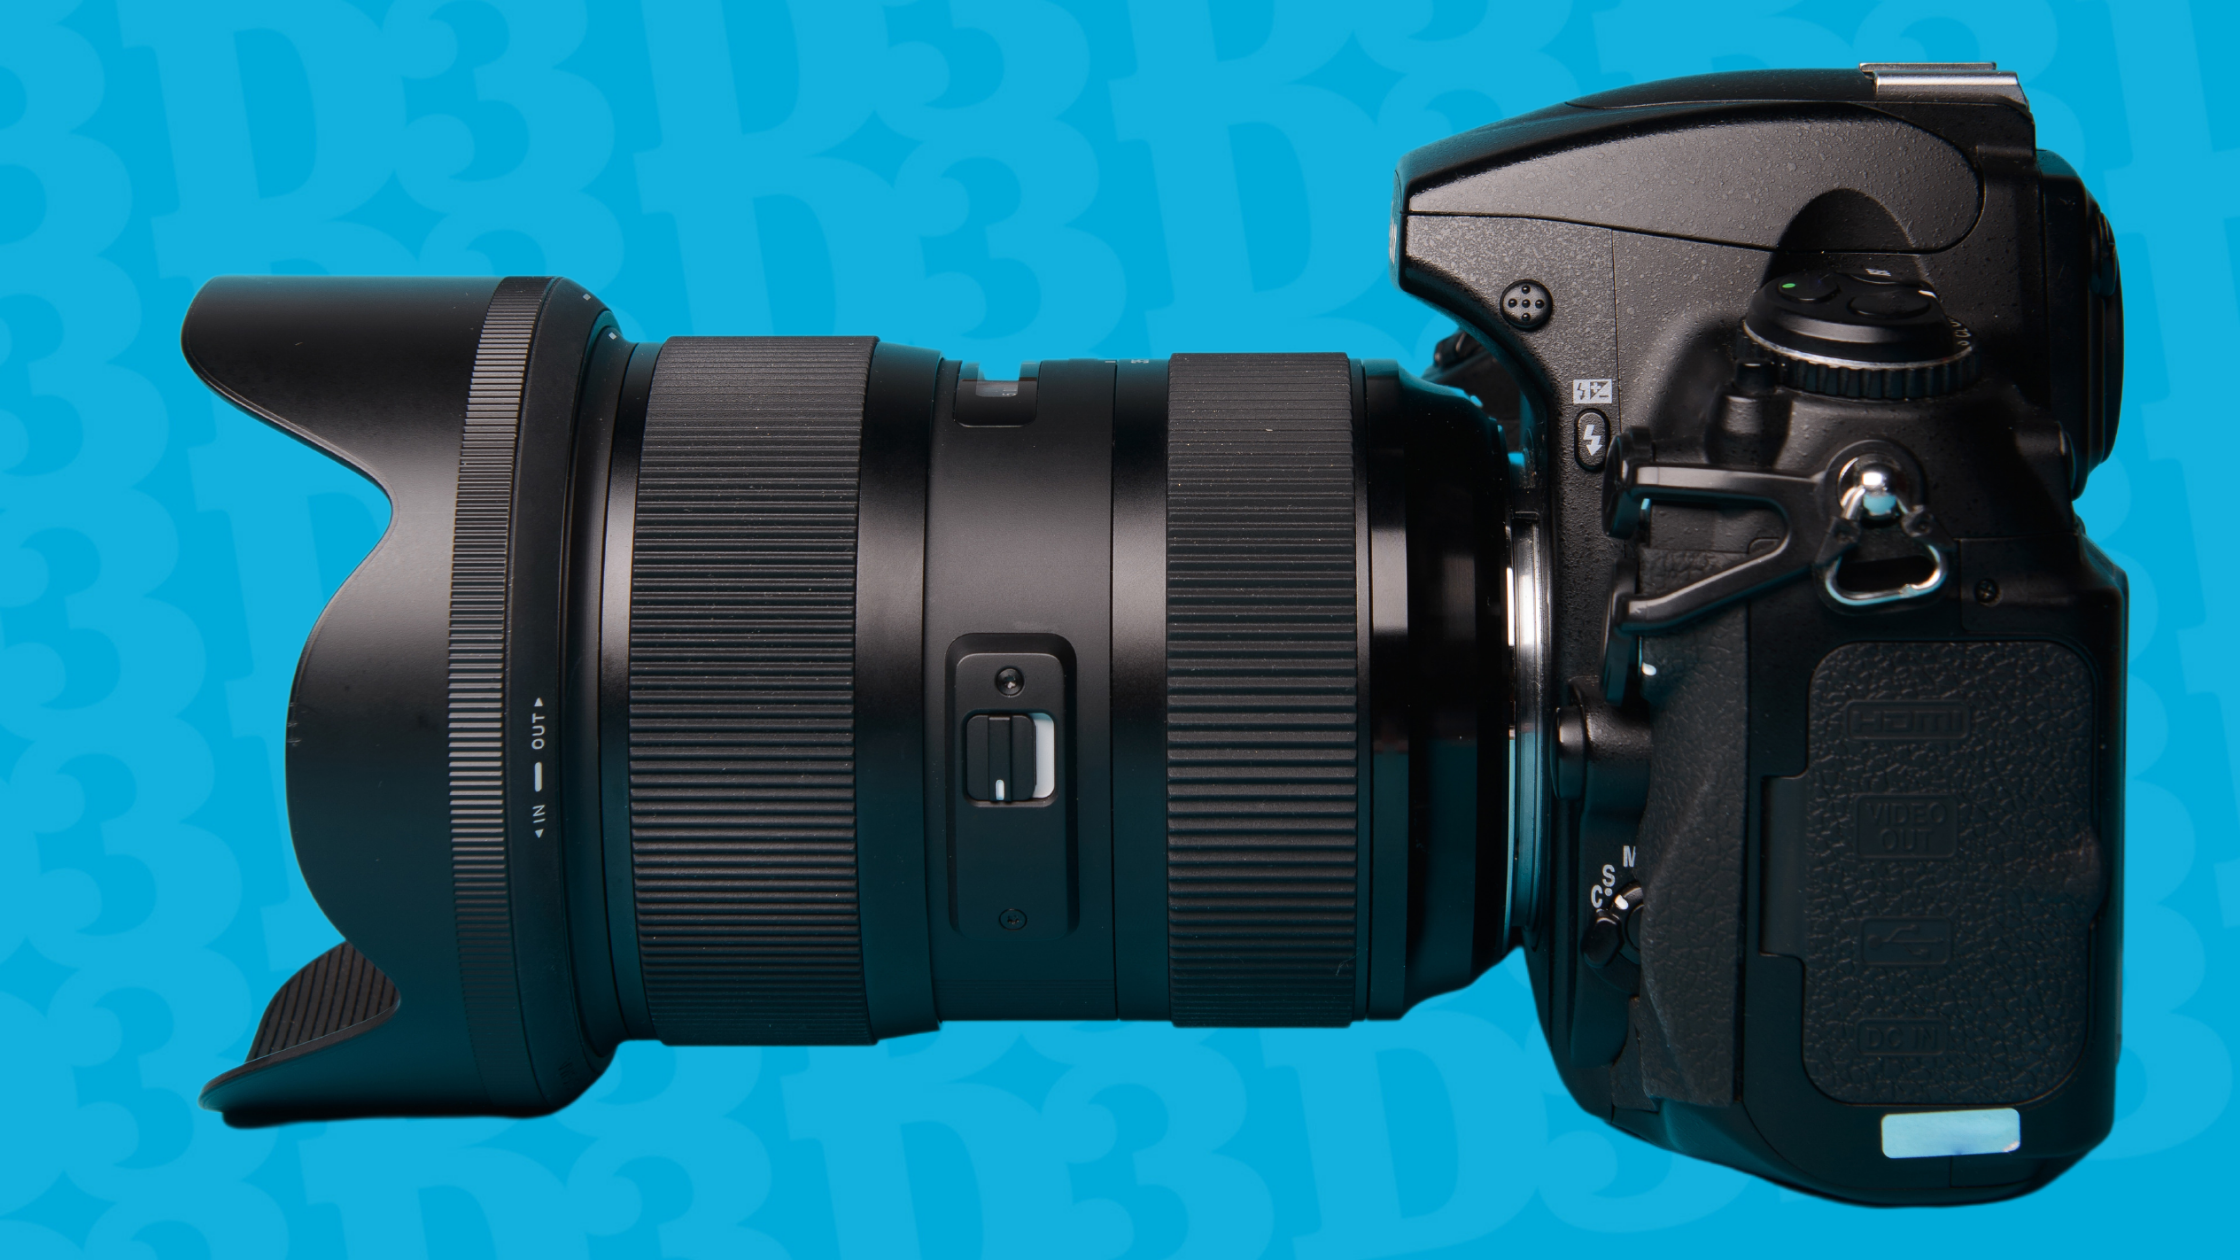
Unlike structured-light and laser scanning techniques, photogrammetry requires hundreds if not thousands of individual photos taken from a DSLR camera.
Photogrammetry is a method that requires a photographer to manually capture still images from all angles and at varying heights around the object that then get uploaded into the software.
The software compiles hundreds to thousands of photos into a 3D model.
Although this method can produce highly-detailed 3D models, it can take significantly longer to capture enough workable digital files compared to the scanning methods.
It is less practical to use photogrammetry on vehicle collisions, but a good method for scanning the exterior of a human body, or of a toy action figurine.
Scanning Bodies – Dead Or Alive!
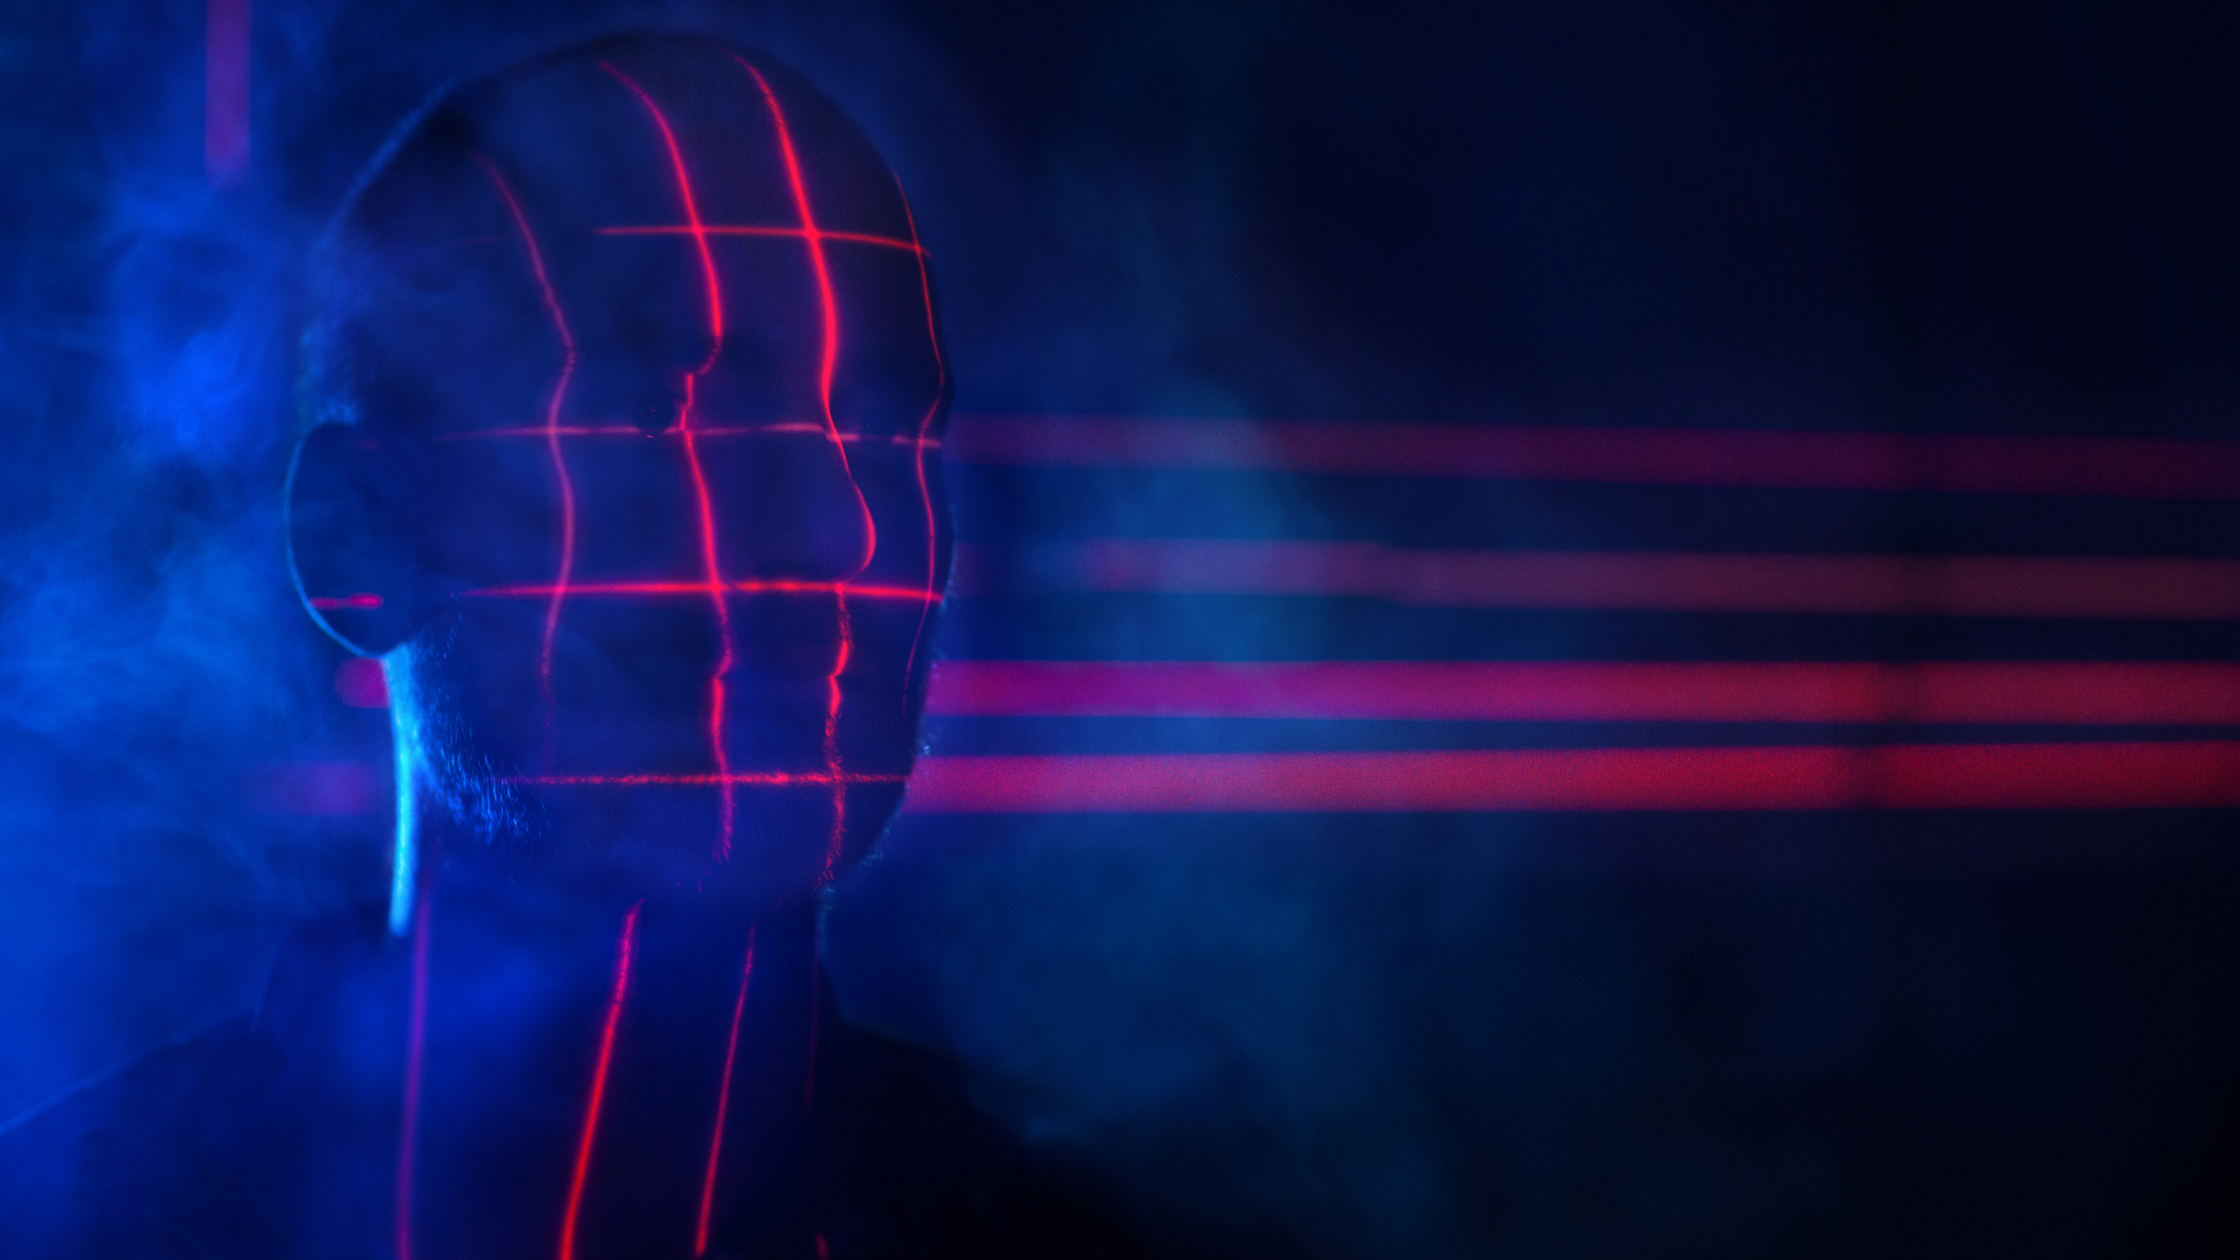
Whether scanning an injured person or a victim from the morgue, specific medical scanning methods work best for the 3D Scan-to-Print process: MRIs and CT scans.
CT scanners use X-ray beams that rotate around a supine body. A computer processor then combines the X-rays to produce high-resolution, cross-sectional images. Image slices are 2D pictures stacked together to form a 3D model. CT scans are more detailed than conventional X-rays and are the preferred 3D scan method for 3D printing. A CT scan typically takes 5 minutes to complete.
MRIs use a magnetic field and radiofrequency pulses to capture images of protons that release electromagnetic energy. Based on how quickly energy is released, MRIs differentiate between different types of body tissues. An MRI scan typically takes 30 minutes to complete.
CT scans are great for revealing bone detail, soft tissue, and organs, whereas MRIs are best for soft tissue. Hospitals or outpatient facilities, of course, are equipped for medical scans, but keep in mind that flawed data create flawed prints.
At 3D Musketeers, we are happy to provide consultation services to guide you on the ideal scanner parameters to produce the best quality data for 3D printed anatomical models.
3D Modeling Process
Once CAD software composites a 3D model from the scanner digital files, our job is to prepare the 3D model for the printer! This moderately time-consuming process involves removing layers to reveal what is required, such as fat, organs, or skin.
Turnaround could be a few hours or a couple of days; it depends on the complexity of the 3D model.
See the 3D modeling process in action on our live stream PRINT MY SPINE! Let’s 3D print Medical Models!
3D Print Process
The final stages of the Scan-to-Print process are:
- 3D Slicing
- 3D Printing
- 3D Object Clean-Up
3D Slicer
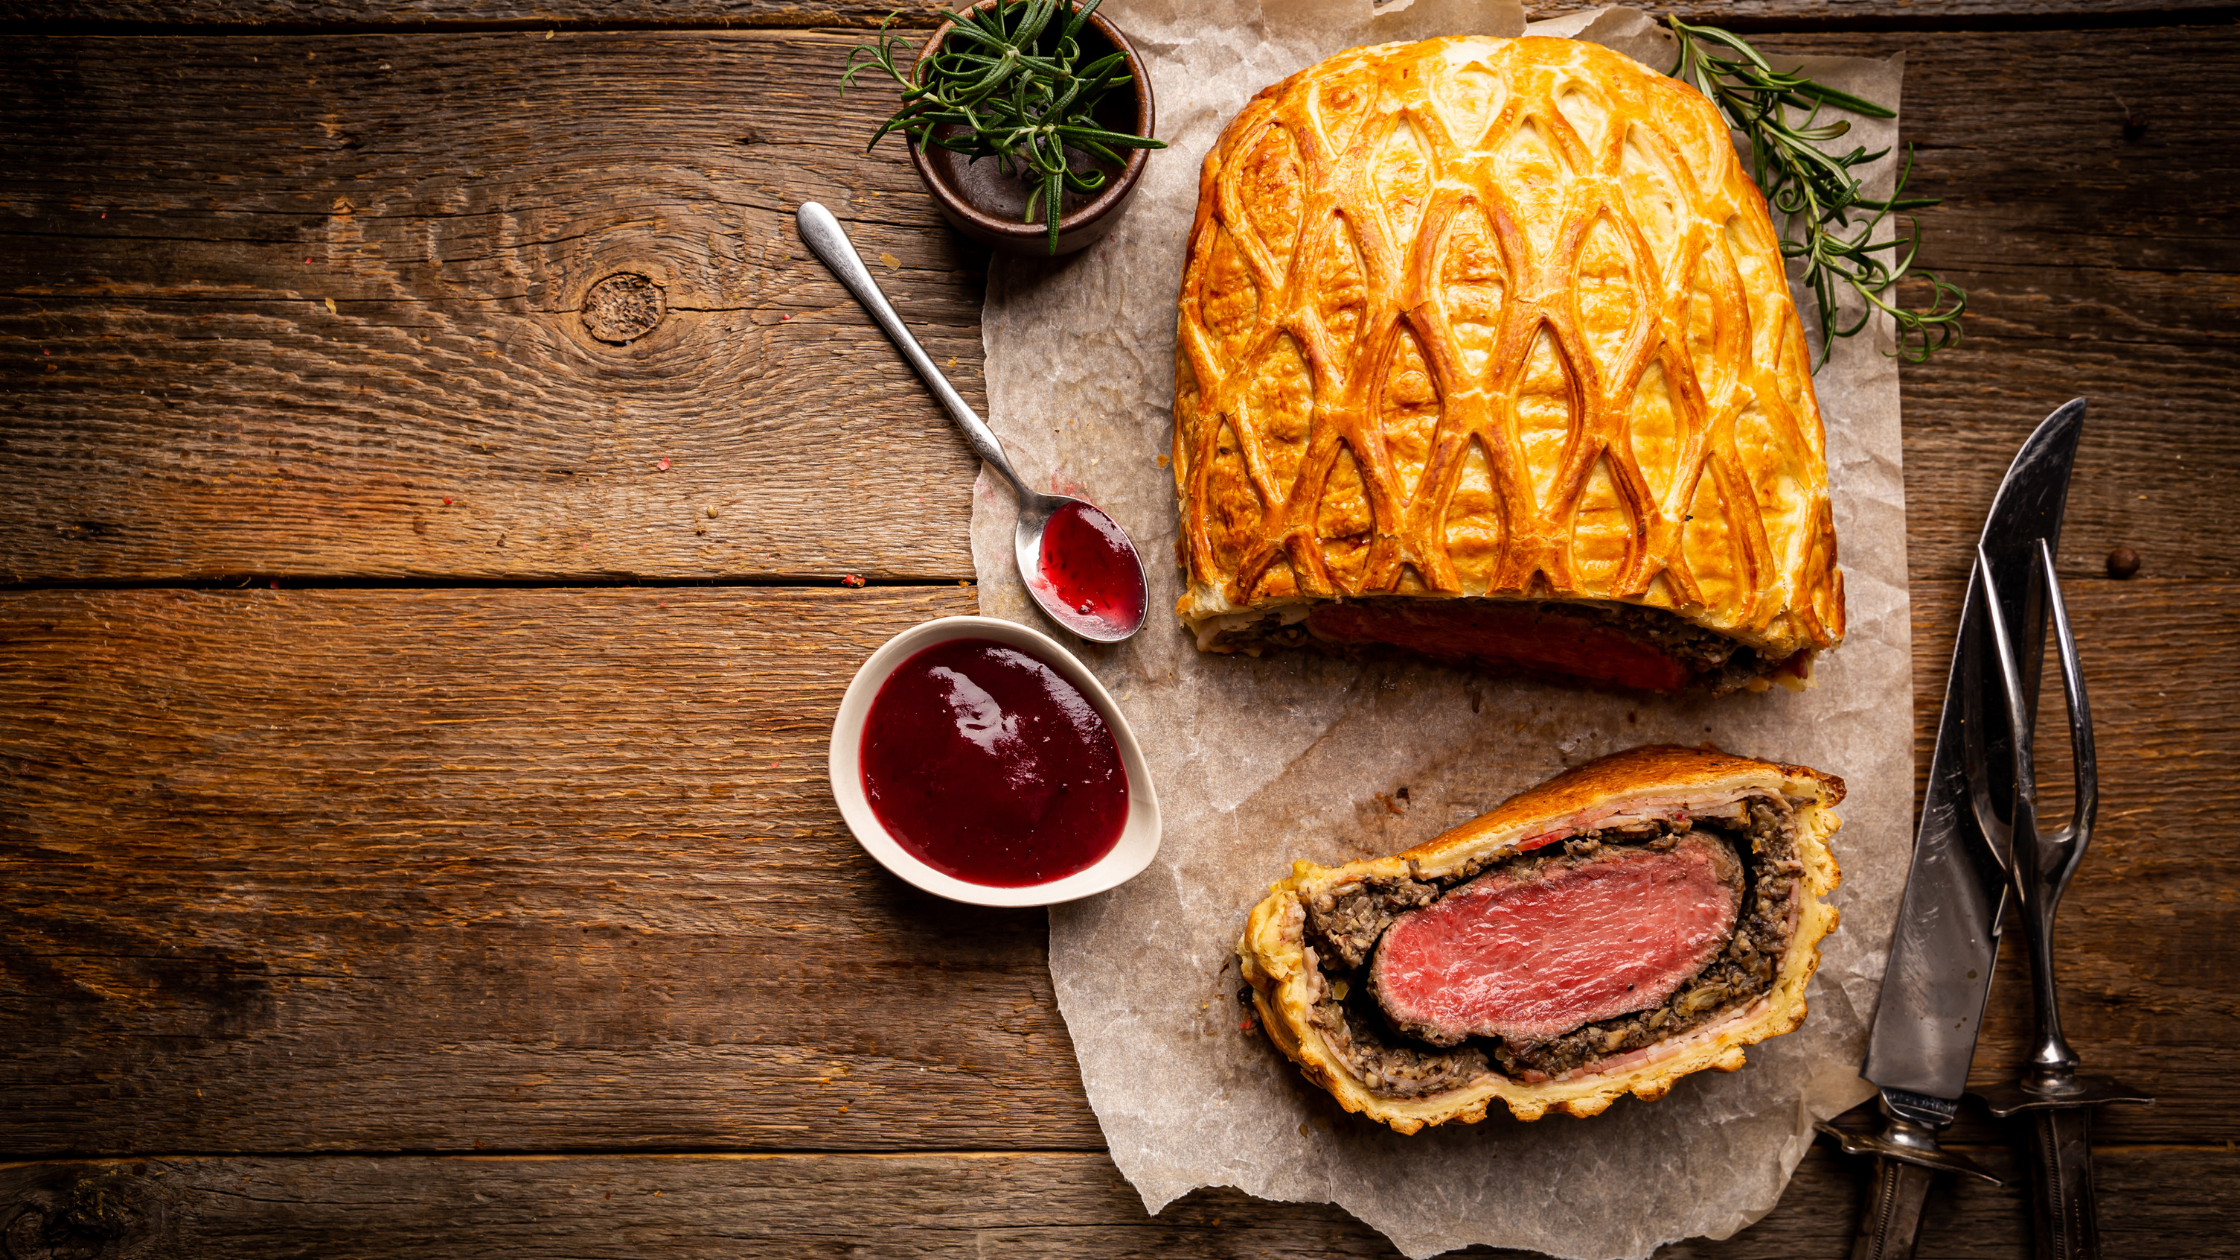
Look at this beautiful and intricate Beef Wellington.
Now replicate it precisely as it is pictured. And no, we’re not going to share the recipe with you!
If we convert a beautiful dish into a recipe, you will have the ability to replicate it exactly. That’s what a 3D slicer does!
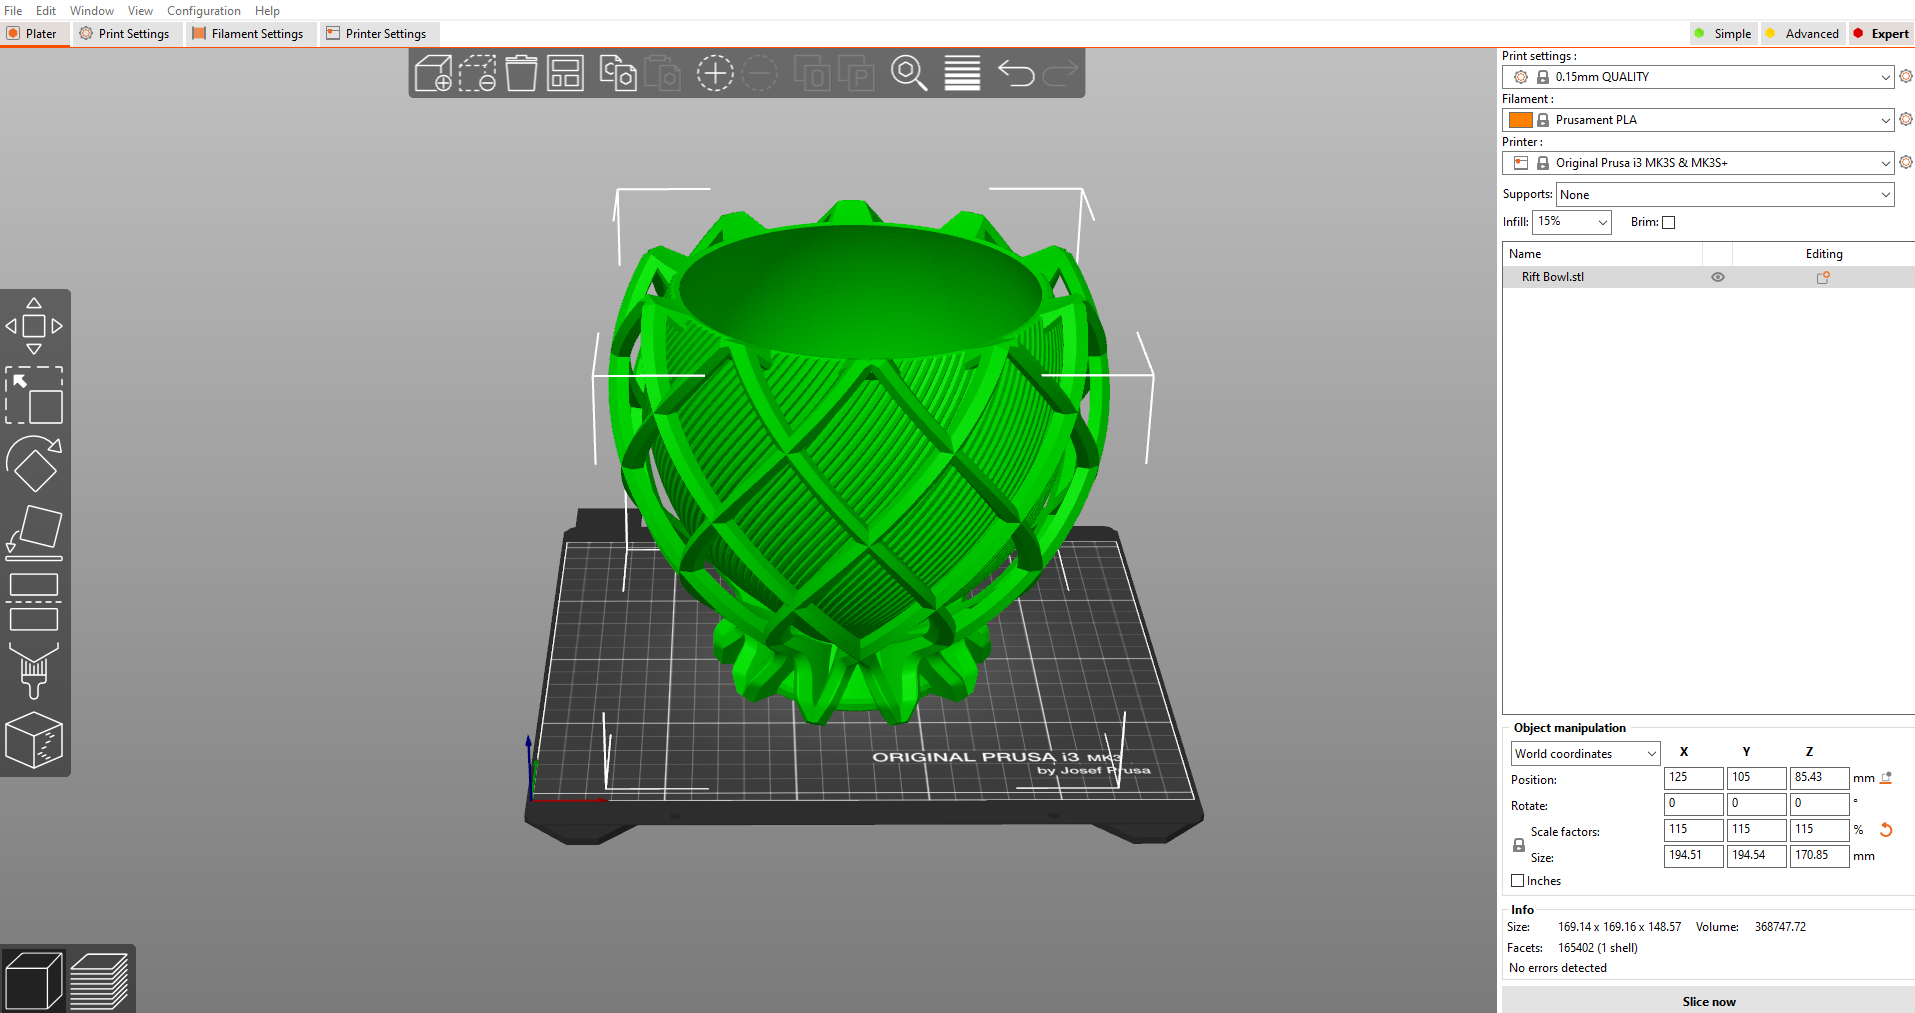
Just as there are variations of the same dish, there are various printer settings available when printing a 3D object. The user decides what ingredients to use (temperature, platform adhesion, layer height, shell thickness, infill pattern, fill density, etc.) then slices the model.
The software processes the information and sends the recipe (G-code) to the printer. The 3D slicer process takes up to 10 minutes.
3D Printing & 3D Object Clean-Up
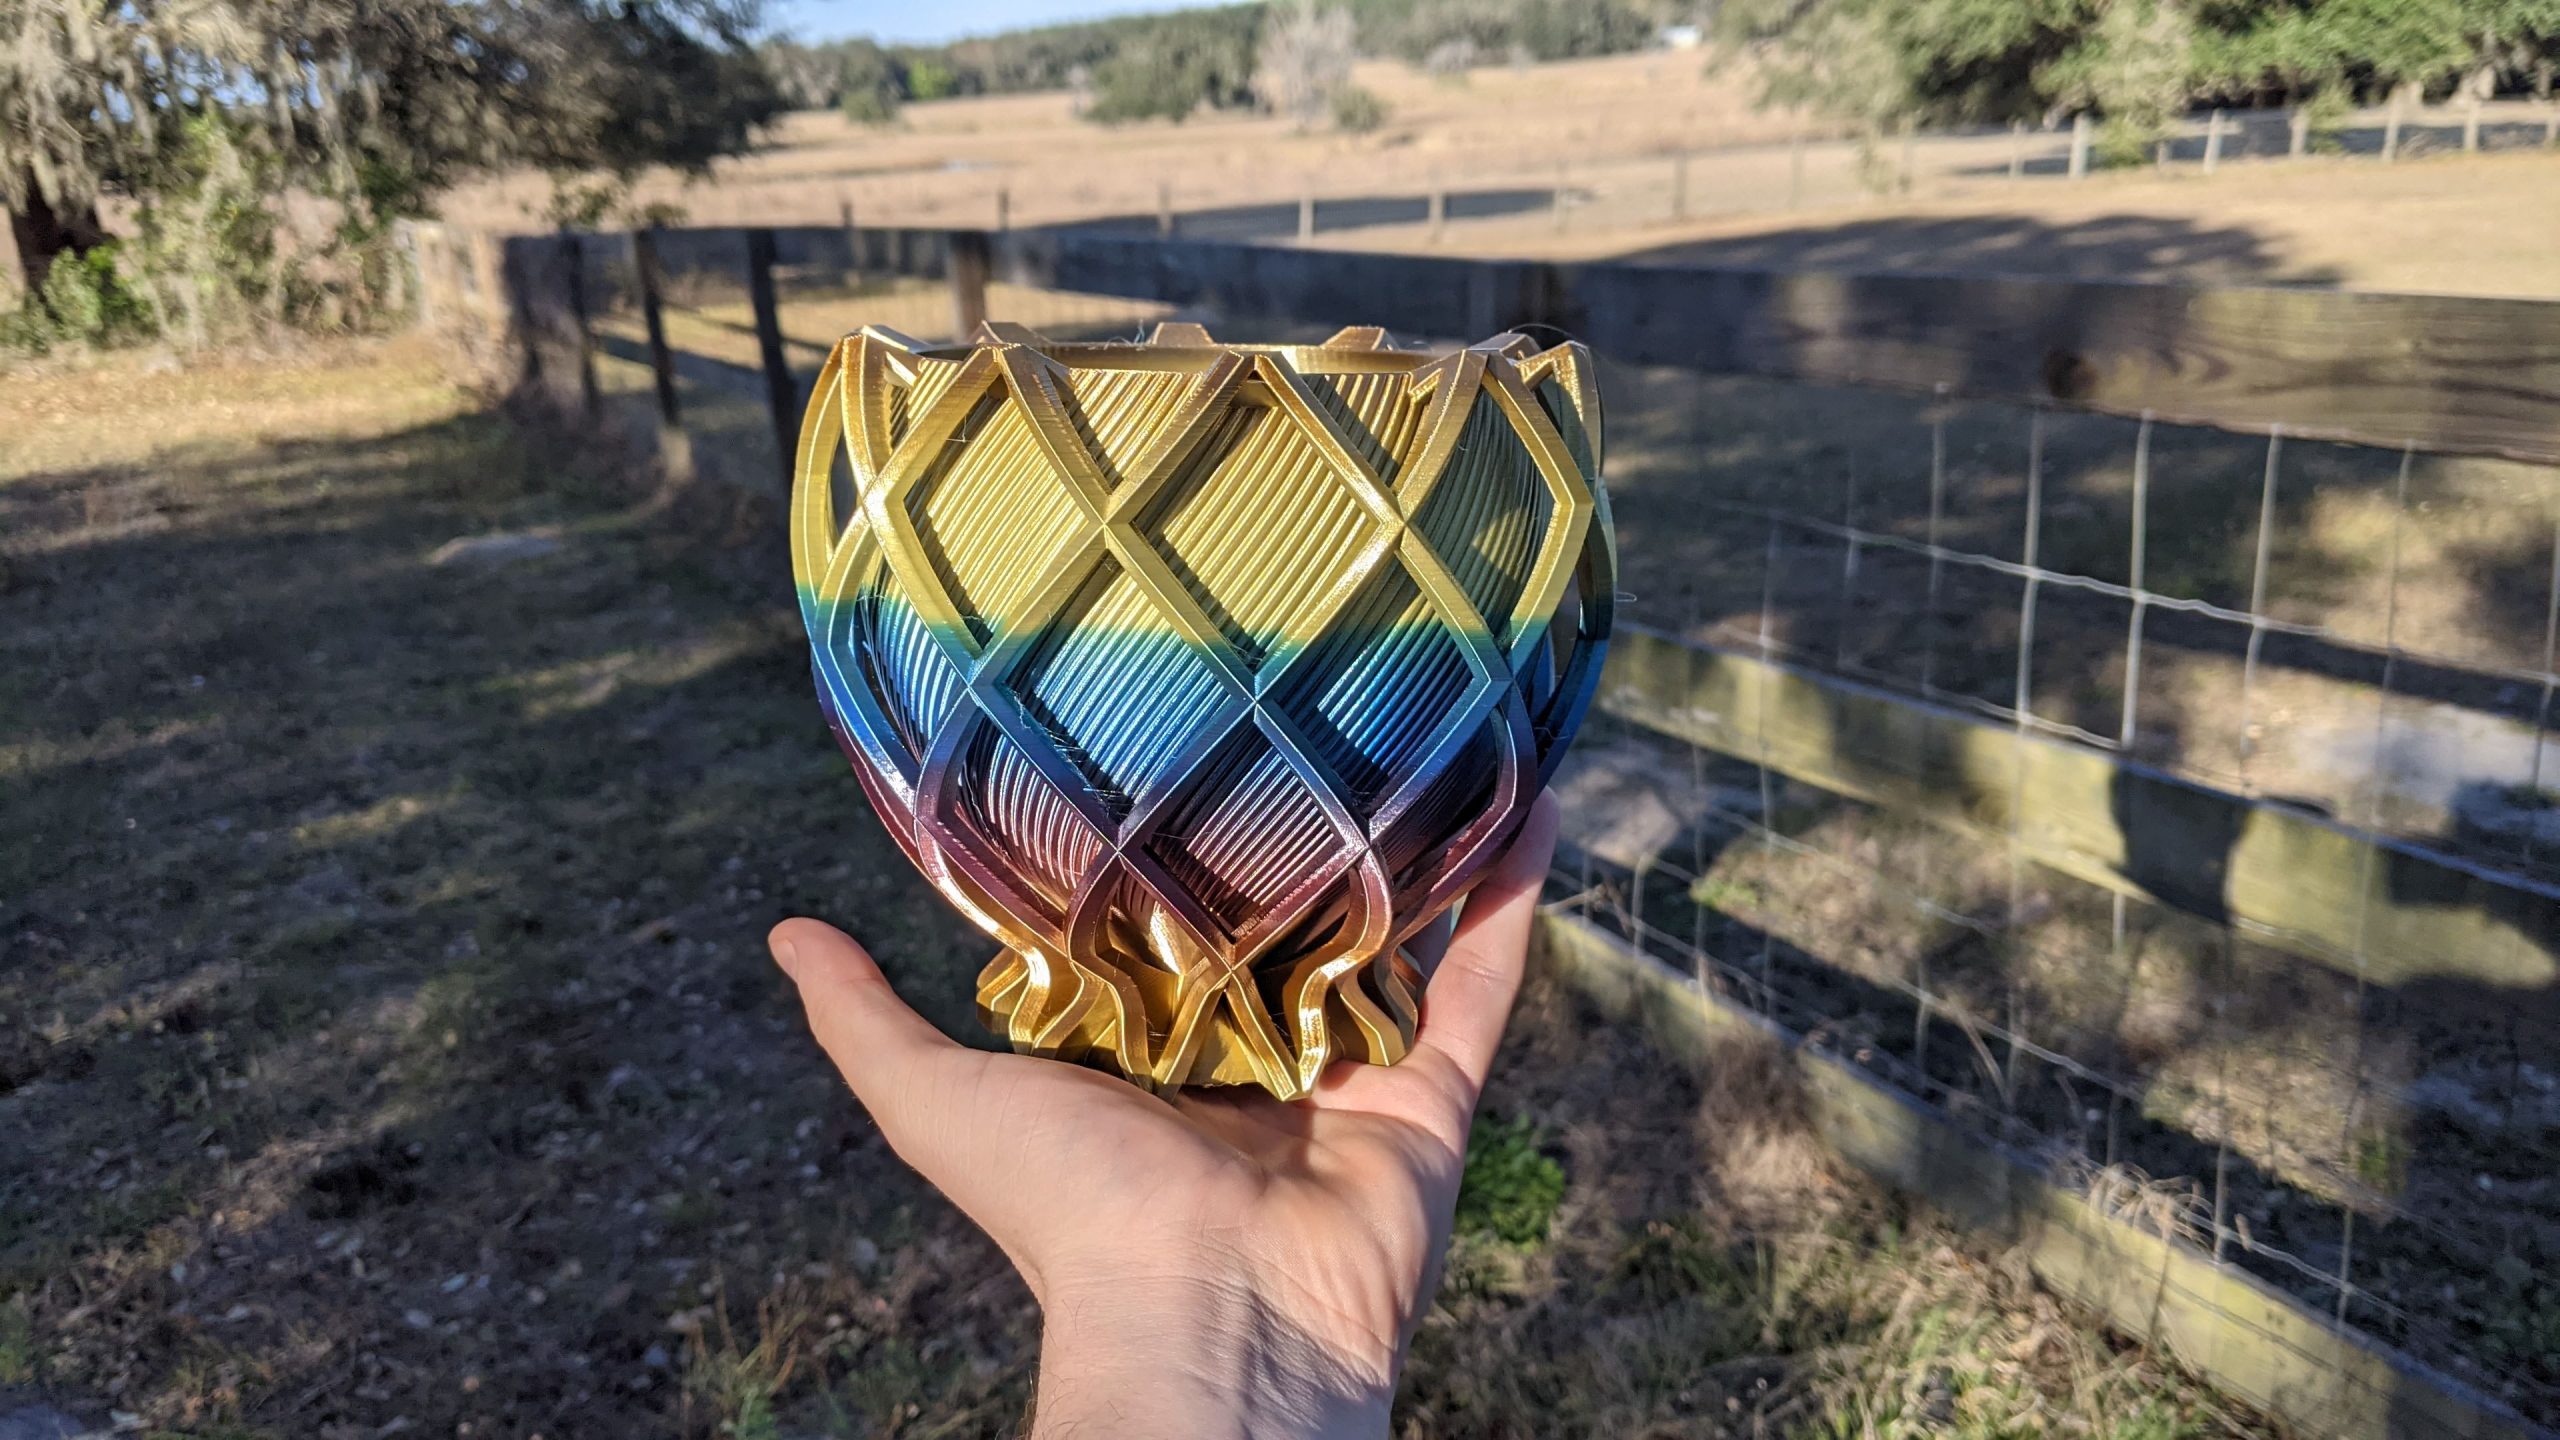
“This recipe looks great! I’m going to make it just like that,” says the 3D printer as it reads the G-code.
The 3D printing process usually requires multiple days to complete depending upon the scale and complexity of the 3D print files. Support material is removed while maintaining the details. We avoid sanding 3D prints to preserve the detailed models as much as possible. The cleaner the digital model to begin with, the better the 3D print.
We can’t stress safety ENOUGH at 3D Musketeers!
Resin 3D printing can be dangerous, but there are precautions you can take to remain safe! In this video, Grant goes into detail about all the safety measures you can apply when handling resin.
Conclusion
3D scanning and 3D printing technology provide several benefits to law enforcement agencies and insurance companies:
- Vehicle Speed Analysis
- Vehicle Damage Analysis
- Accident Reconstruction
- Crime Scene Models
- Anatomical Models
- Demonstrative Evidence
All of which elevate the effectiveness of the police investigation, legal investigation, or insurance litigation process.
Contact 3D Musketeers for full-service 3D scan to 3D print services!

