3D printing technology can make a wide range of 3D objects! This easy guide covers the basics of 3D printing technology from material to practical application.
Additive vs. Traditional Manufacturing
What Is Traditional Manufacturing?
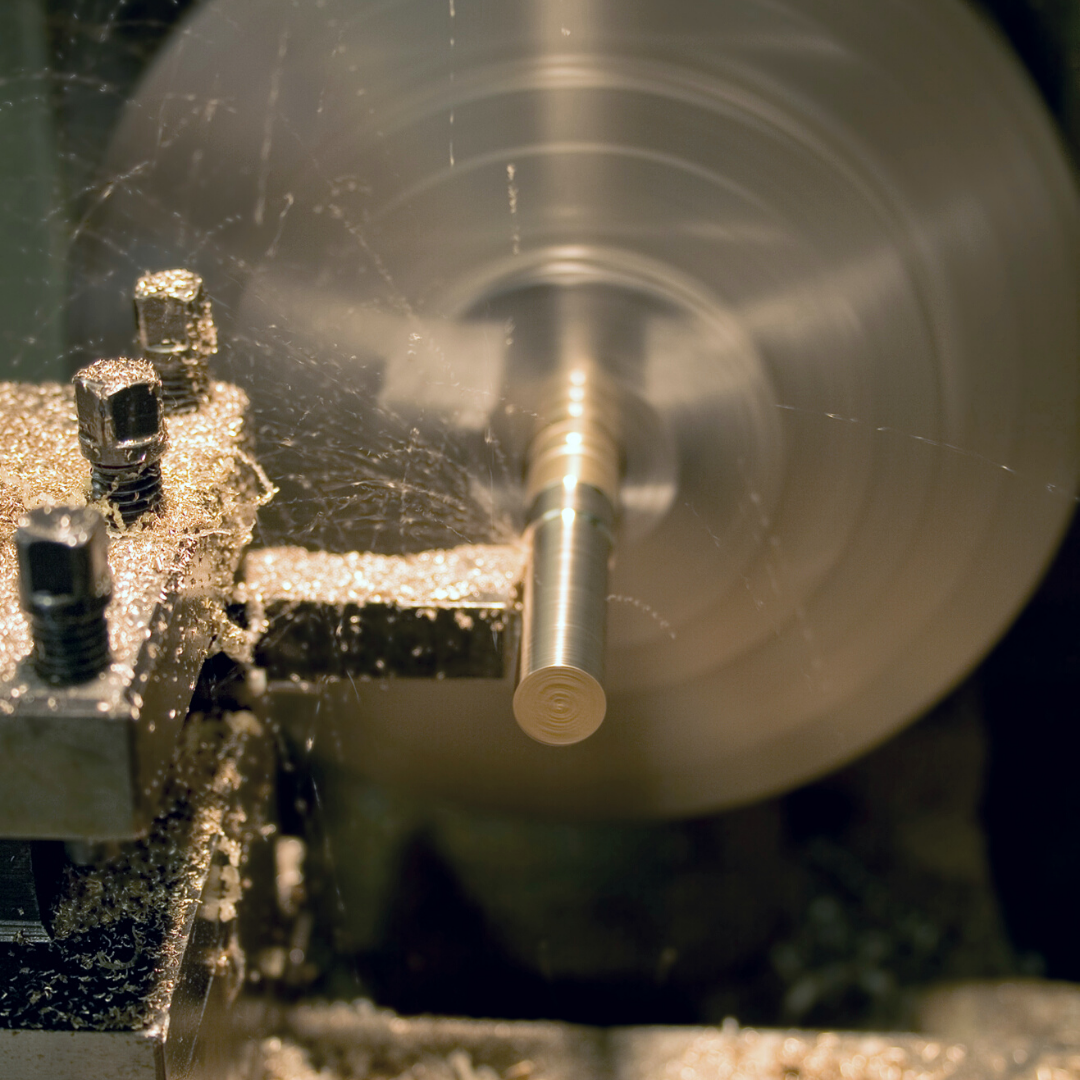
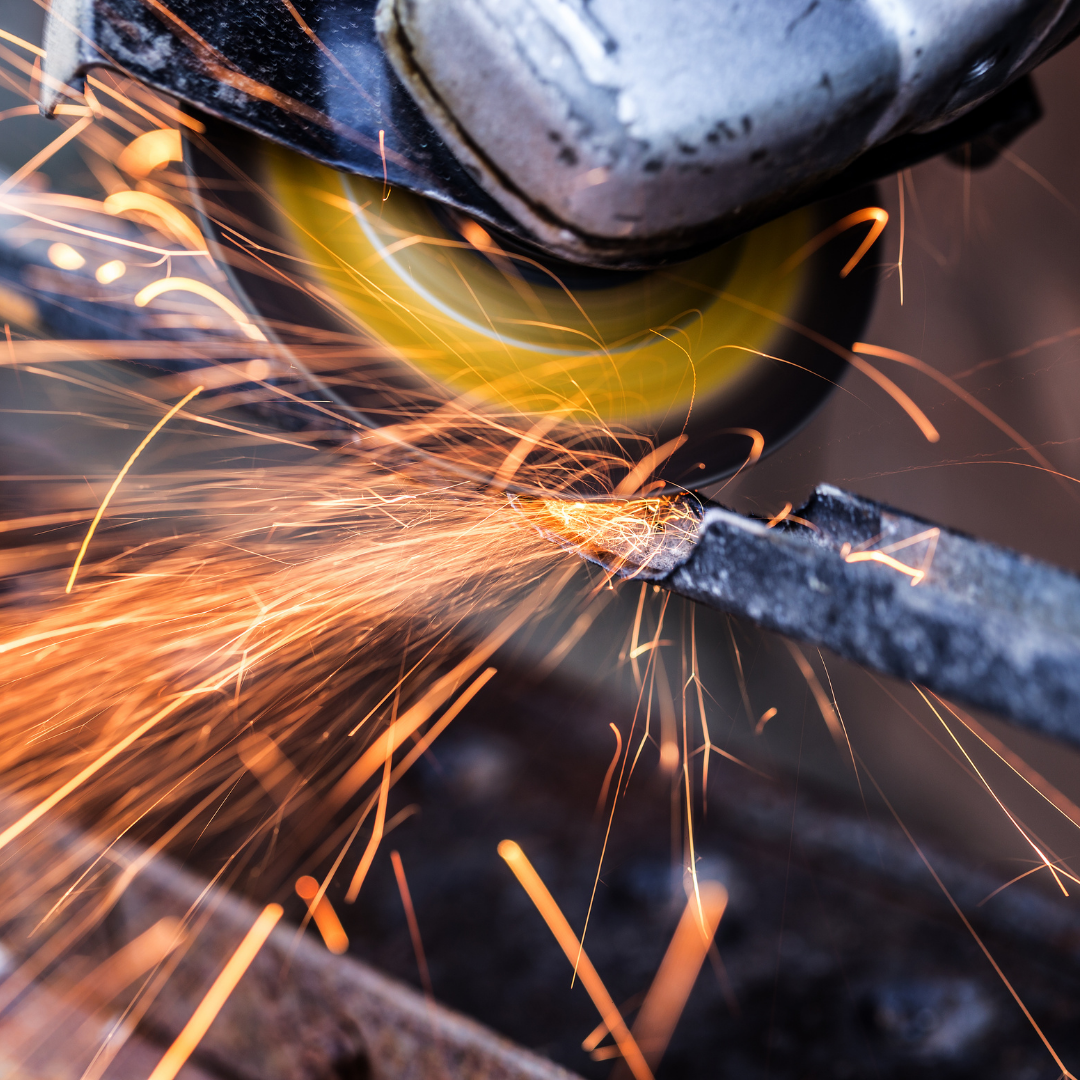
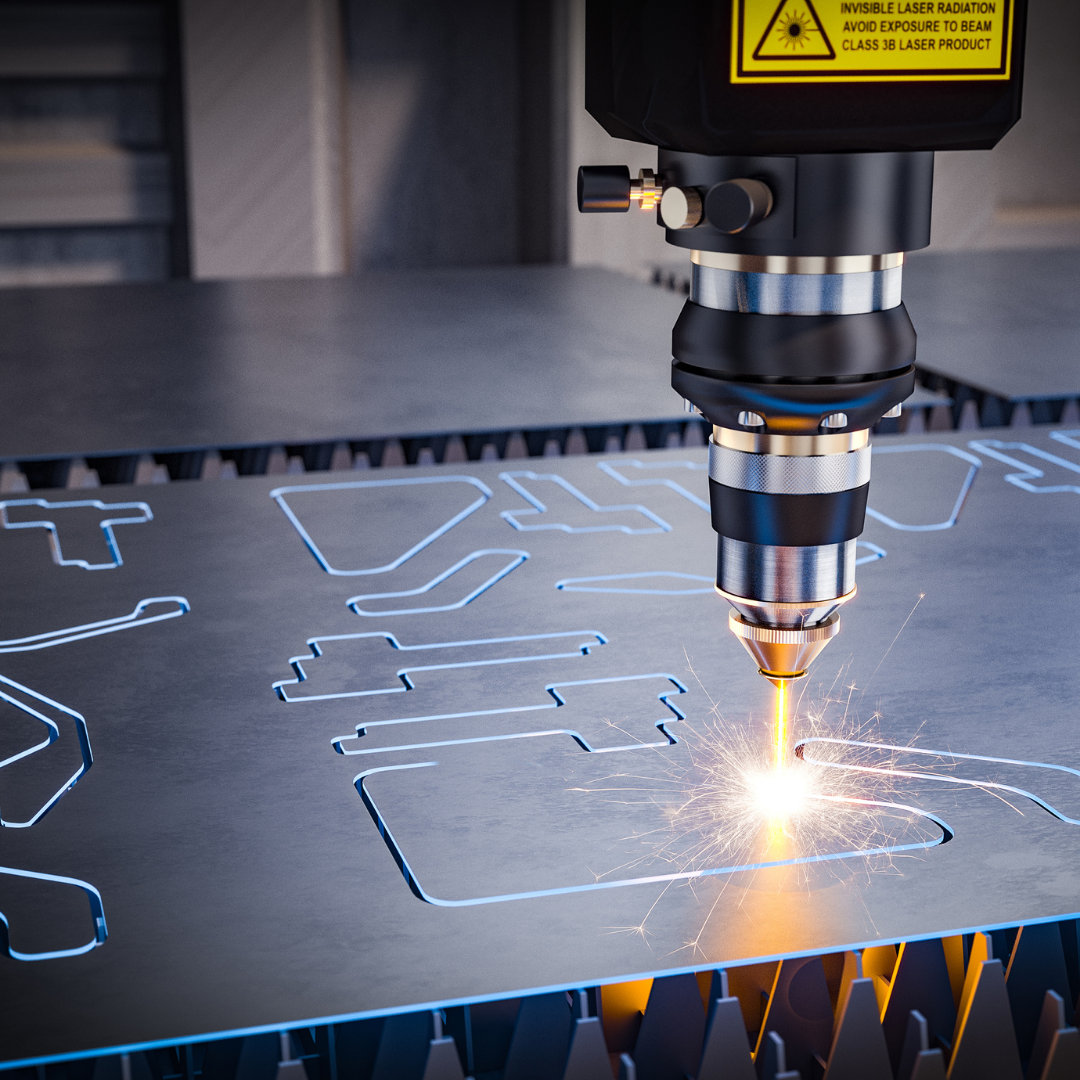
Traditional manufacturing is subtractive: shop machines remove material.
The manufacturer begins with a material (metal, plastic, wood, etc.) and fabricates that shape (sheet, block, bar, rod, etc.) through material removal processes (laser-cutting, sawing, milling, drilling, grinding, etc.).
What Is Additive Manufacturing?
Additive manufacturing adds material!
Layer-by-layer, a material creates a real-life three-dimensional model.
Traditional manufacturing methods tend to produce more waste, cost more, and work best for mass production, whereas additive manufacturing (a.k.a. 3D printing) is better for rapid prototyping, quick turnaround alterations, produces less waste, and is more cost-effective.
What 3D Printing Processes Work Best?
The most popular 3D printing processes include stereolithography (SLA), fused deposition modeling (FDM), and Selective Laser Sintering (SLS).
While all of these 3D printing techniques utilize additive manufacturing technologies, each technique differs in mechanical processes, material properties, print quality, and range of applications.
So what 3D printing technique works best? It depends!
It depends on the physical object you want to make!
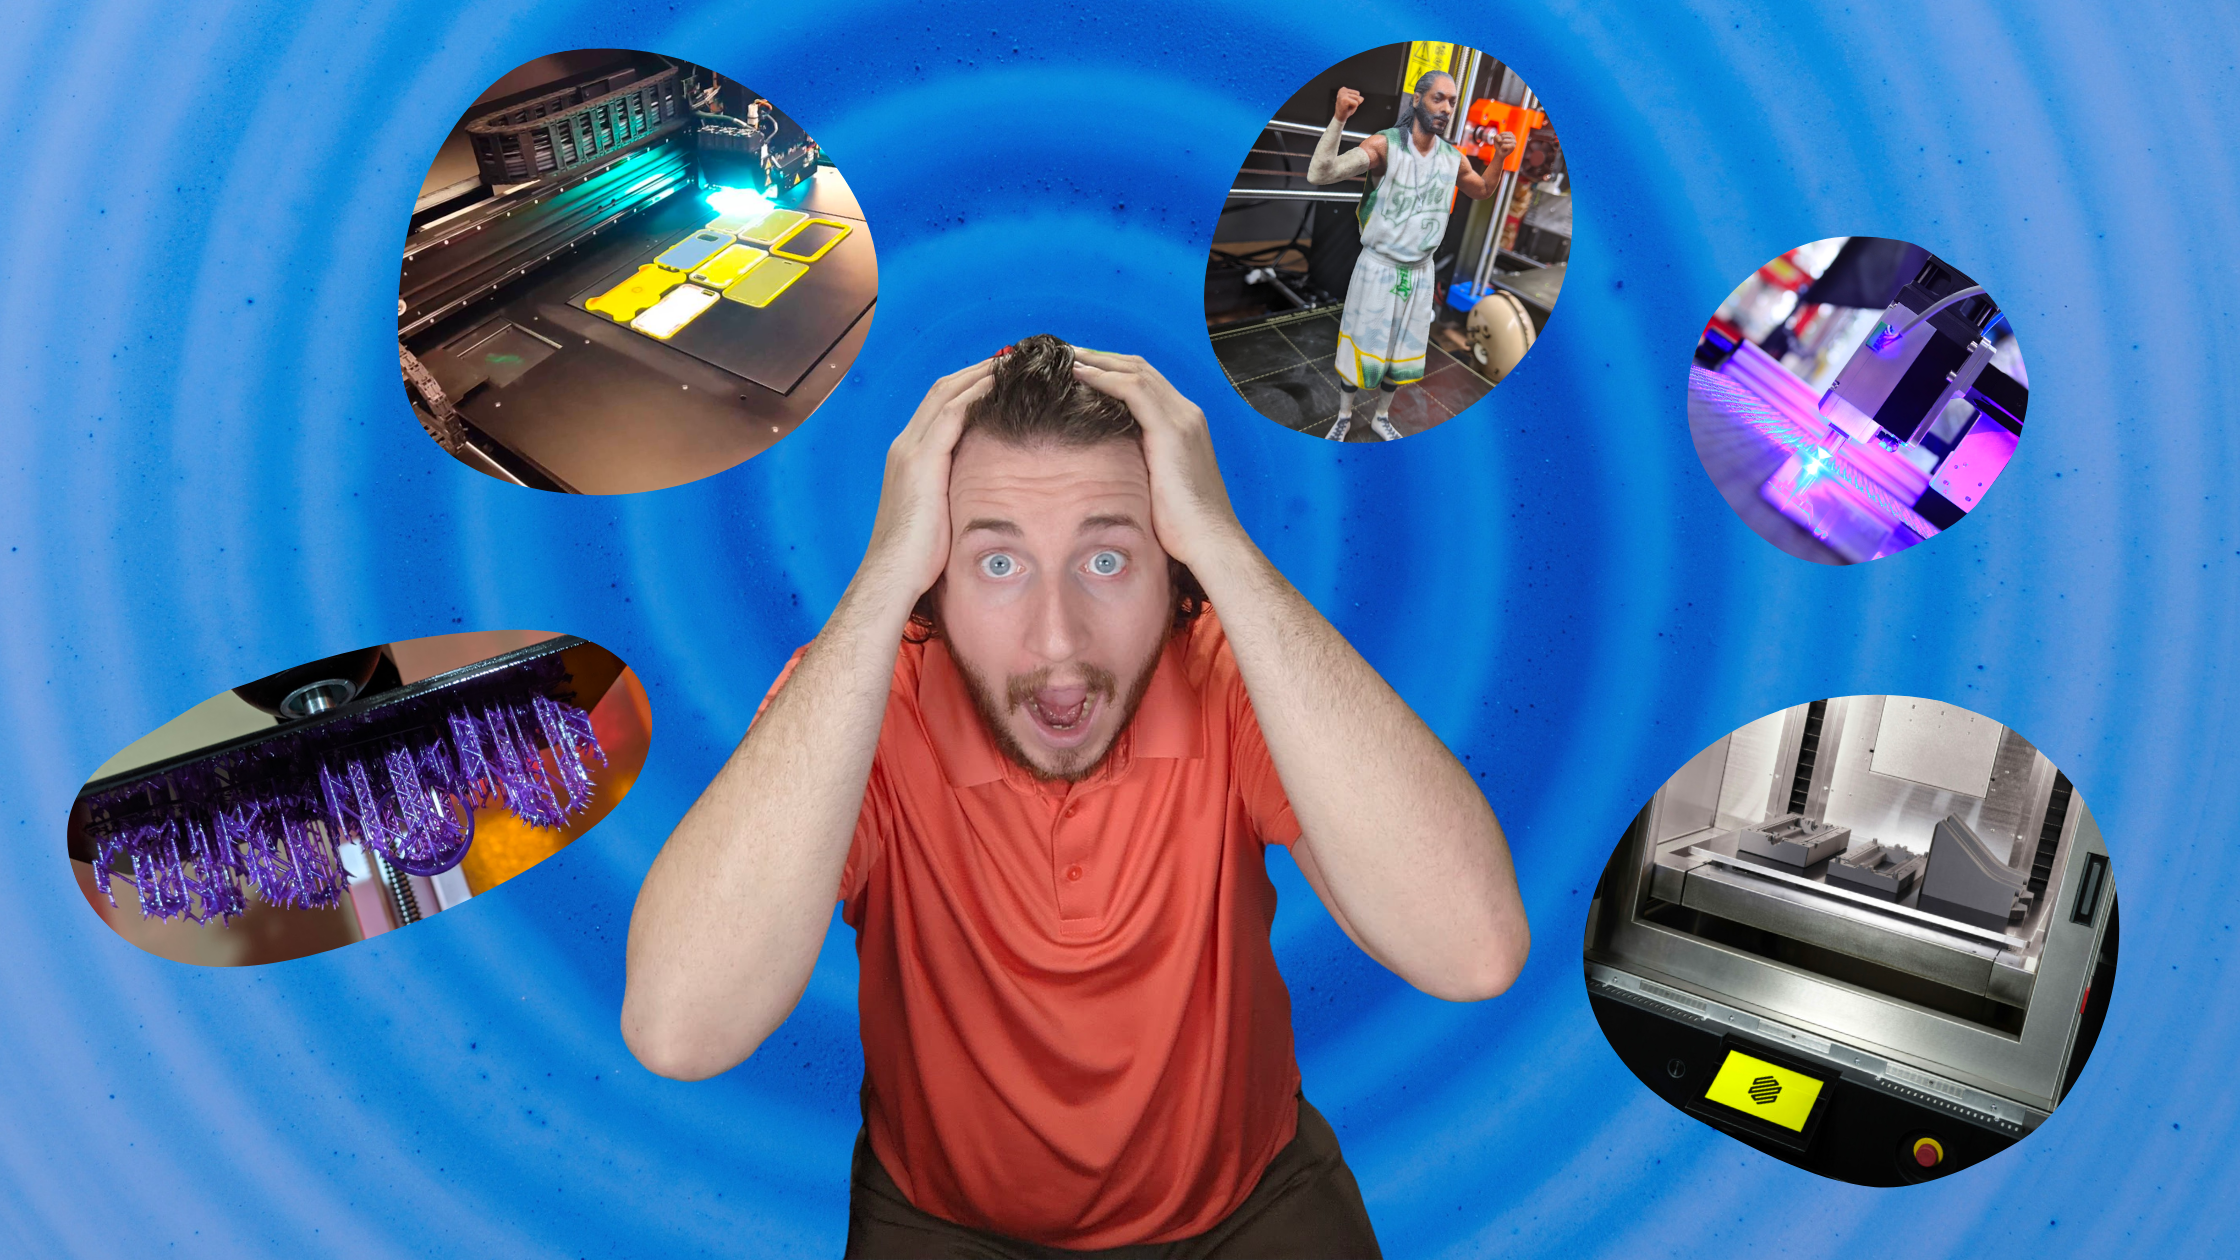
What’s Stereolithography (SLA)?
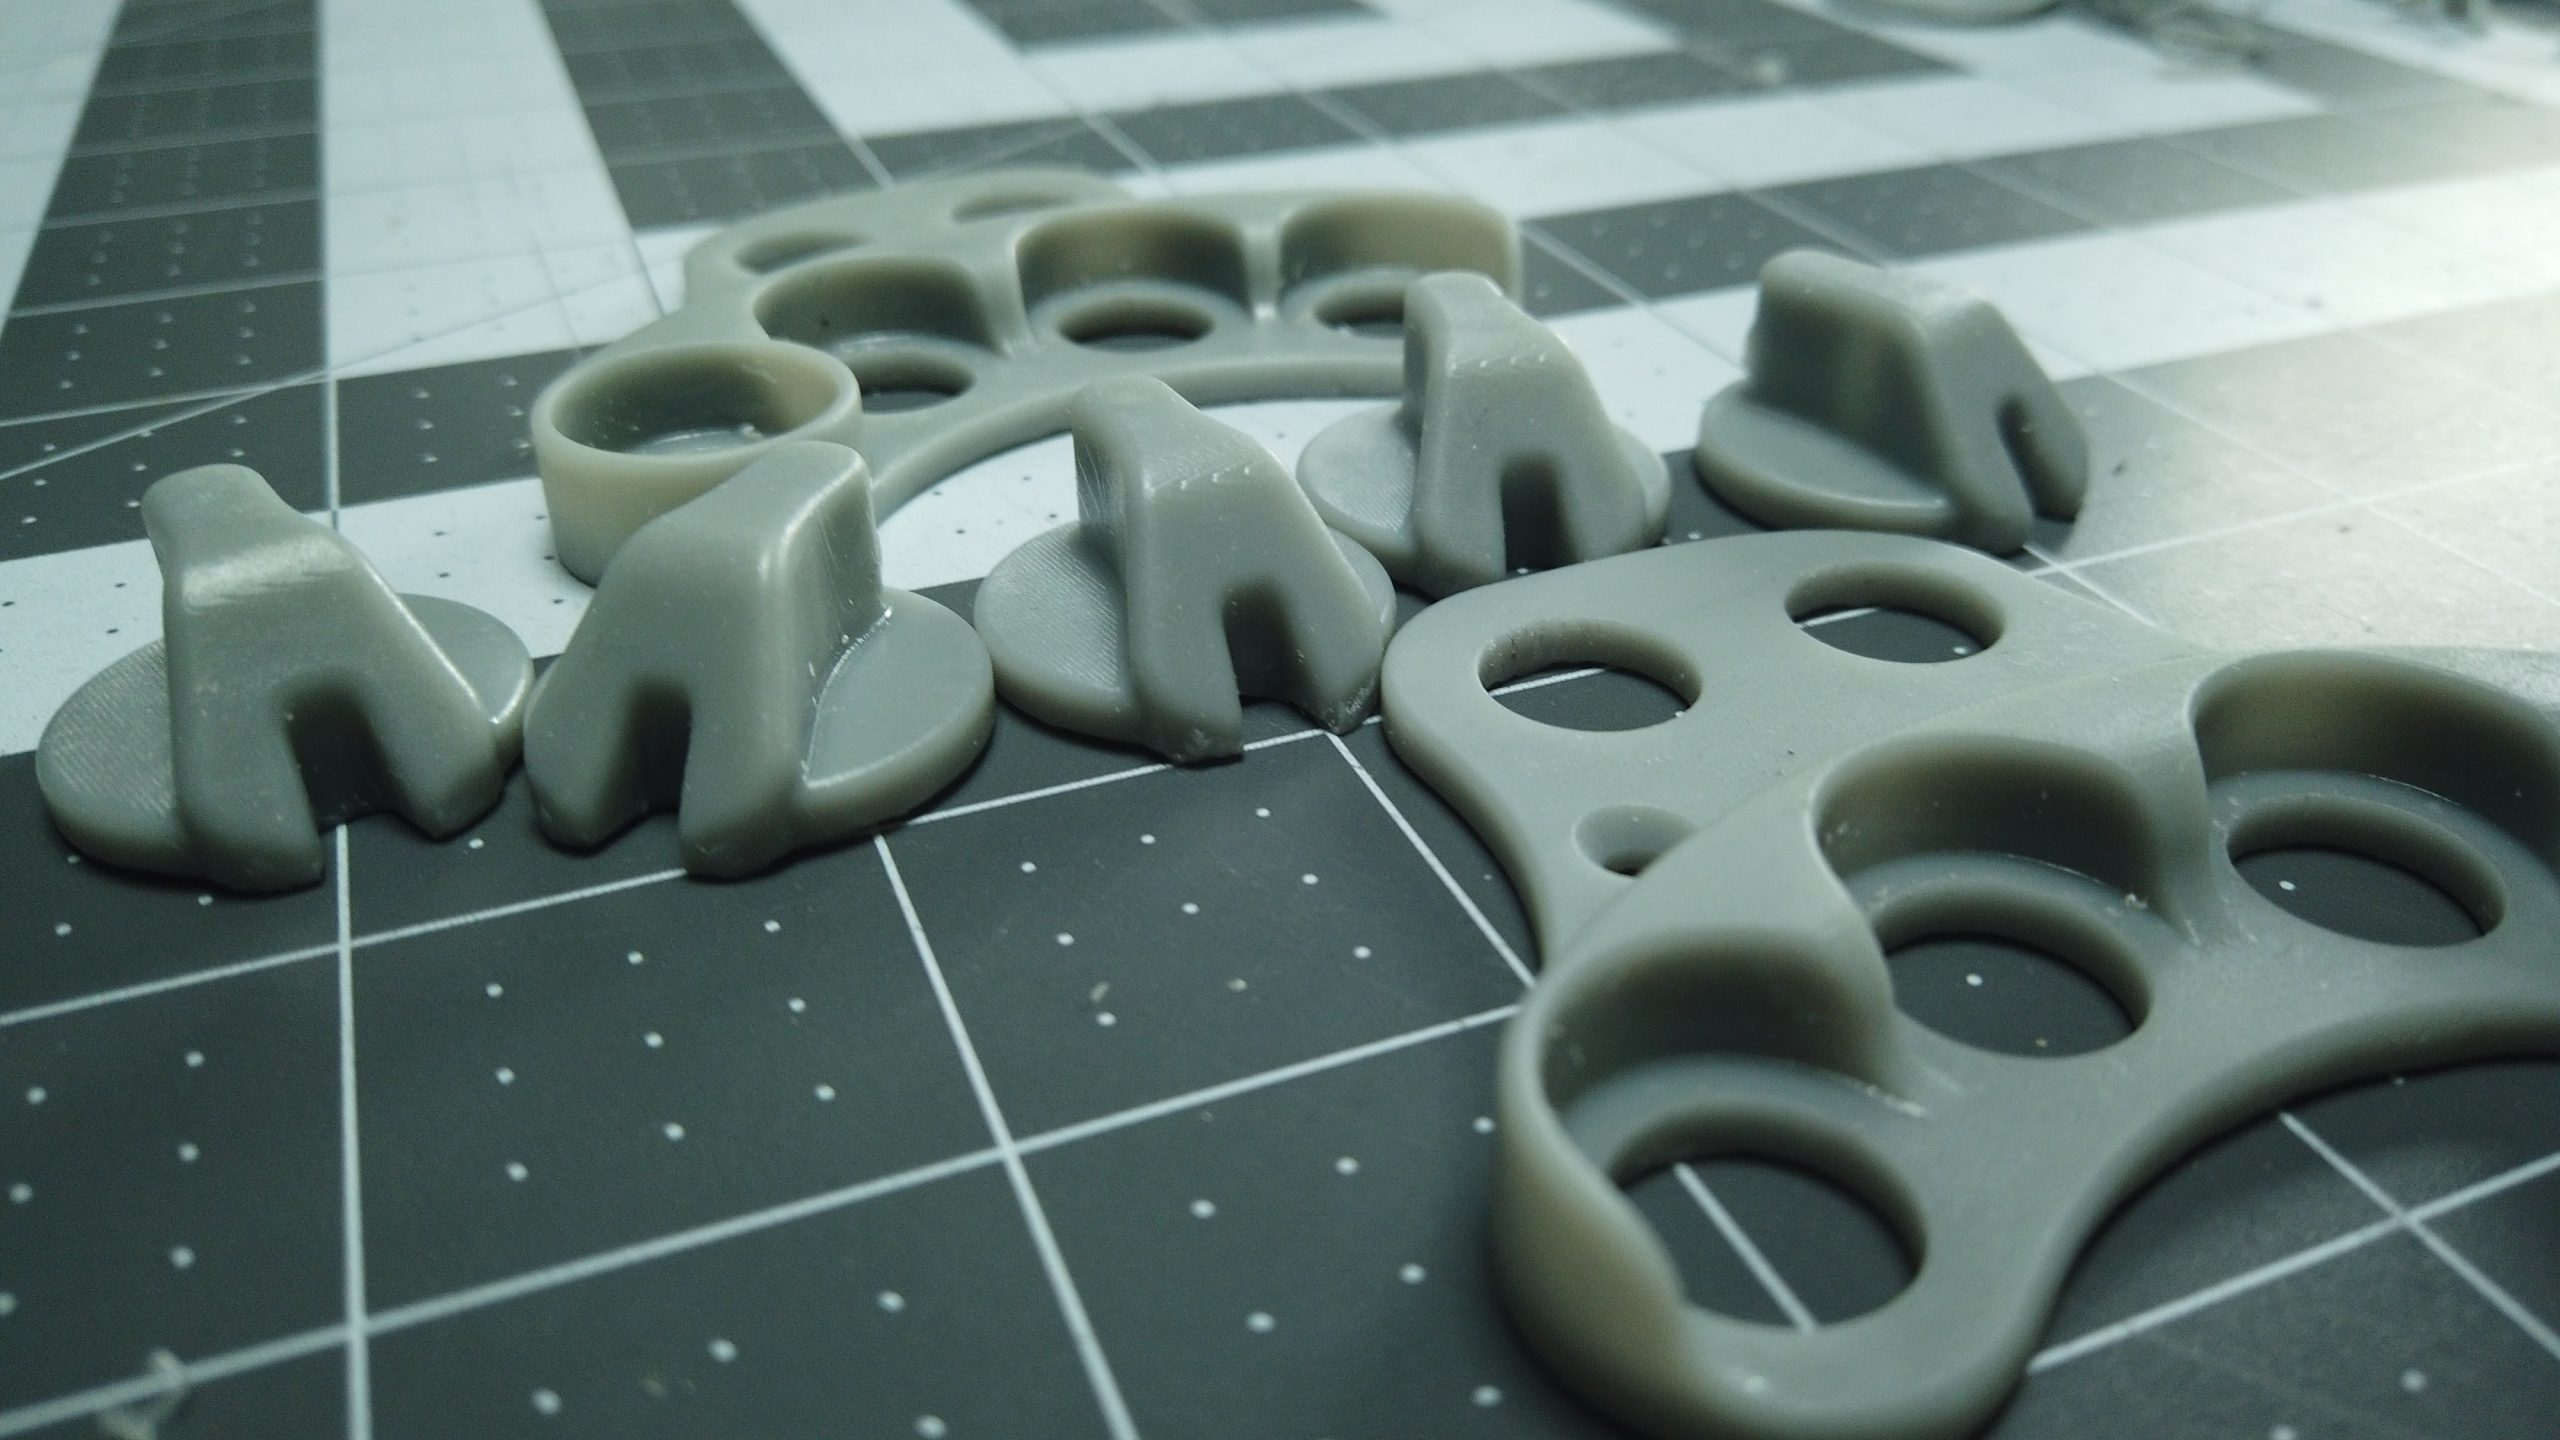
Stereolithography is liquid resin-based and produces a wide range of high-detail 3D-printed objects.
Liquid resin is poured into a transparent, rectangular tank. An ultraviolet laser zaps the liquid resin, causing the resin to harden.
MLSA or Masked Stereolithography uses the same materials as normal SLA, but instead of a laser it uses a UV light source and an LCD screen to mask away areas where that UV light is not to pass through.
Different types of resin have different mechanical properties:
- Standard Resin: Produces high-quality 3D objects affordably. This is a common material for creating tabletop role-playing game pieces, jewelry pieces, rings, and more.
- Clear Resin: This falls under the same category as standard resin except the 3D object ends up transparent.
- Tough Resin: Ideal for end-use parts and functional machine assembly components that need to be durable and shatter-resistant.
- Flexible Resin: Rubber-like, flexible material that is ideal for gaskets, stamps, bouncy balls, and anything that requires flexibility.
- Water-Washable Resin: Post-process clean of most resin requires isopropyl alcohol, except for water-washable resin. Water-washable resin objects are stronger than standard resin objects but are also more brittle.
- Dental Resin: Produces prints that have exceptional precision, smooth surface finish, and compressive strength. Dental resin is expensive and best for dental applications such as aligner molds, casts for crowns or bridges, and implants.
- Ceramic-Filled Resin: A step up from tough resin, the ceramic-filled resin is reinforced with ceramic, making it heat-resistant, smooth, and tough, but brittle and not very impact resistant. Ceramic-filled resin is ideal for automotive applications and jewelry.
What’s Fused Deposition Modeling (FDM)?
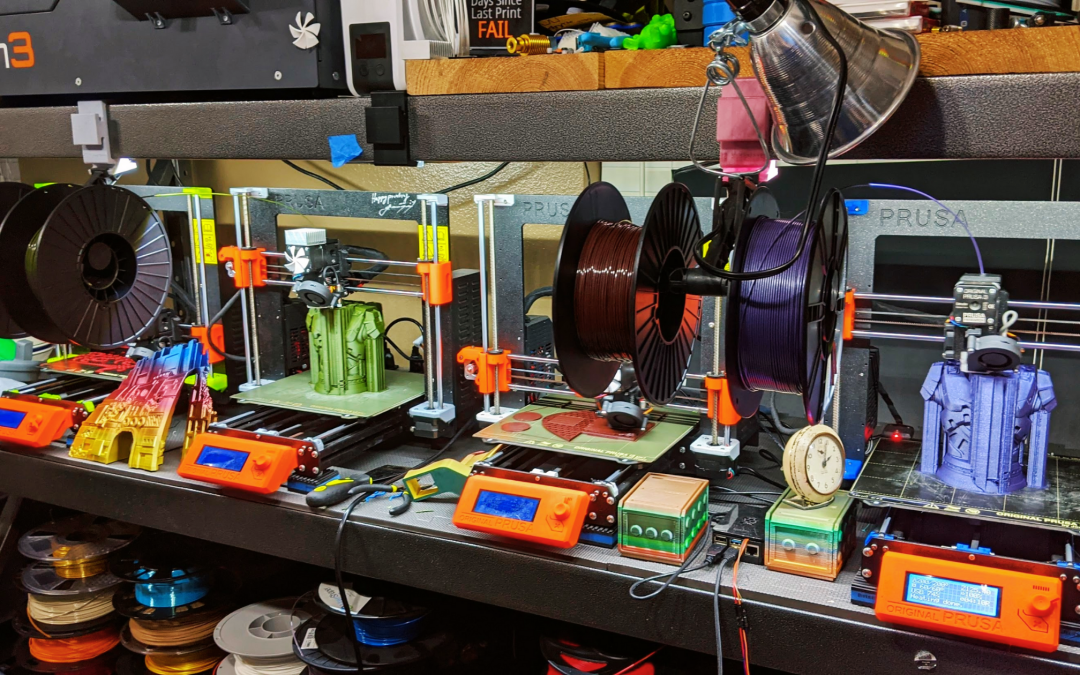
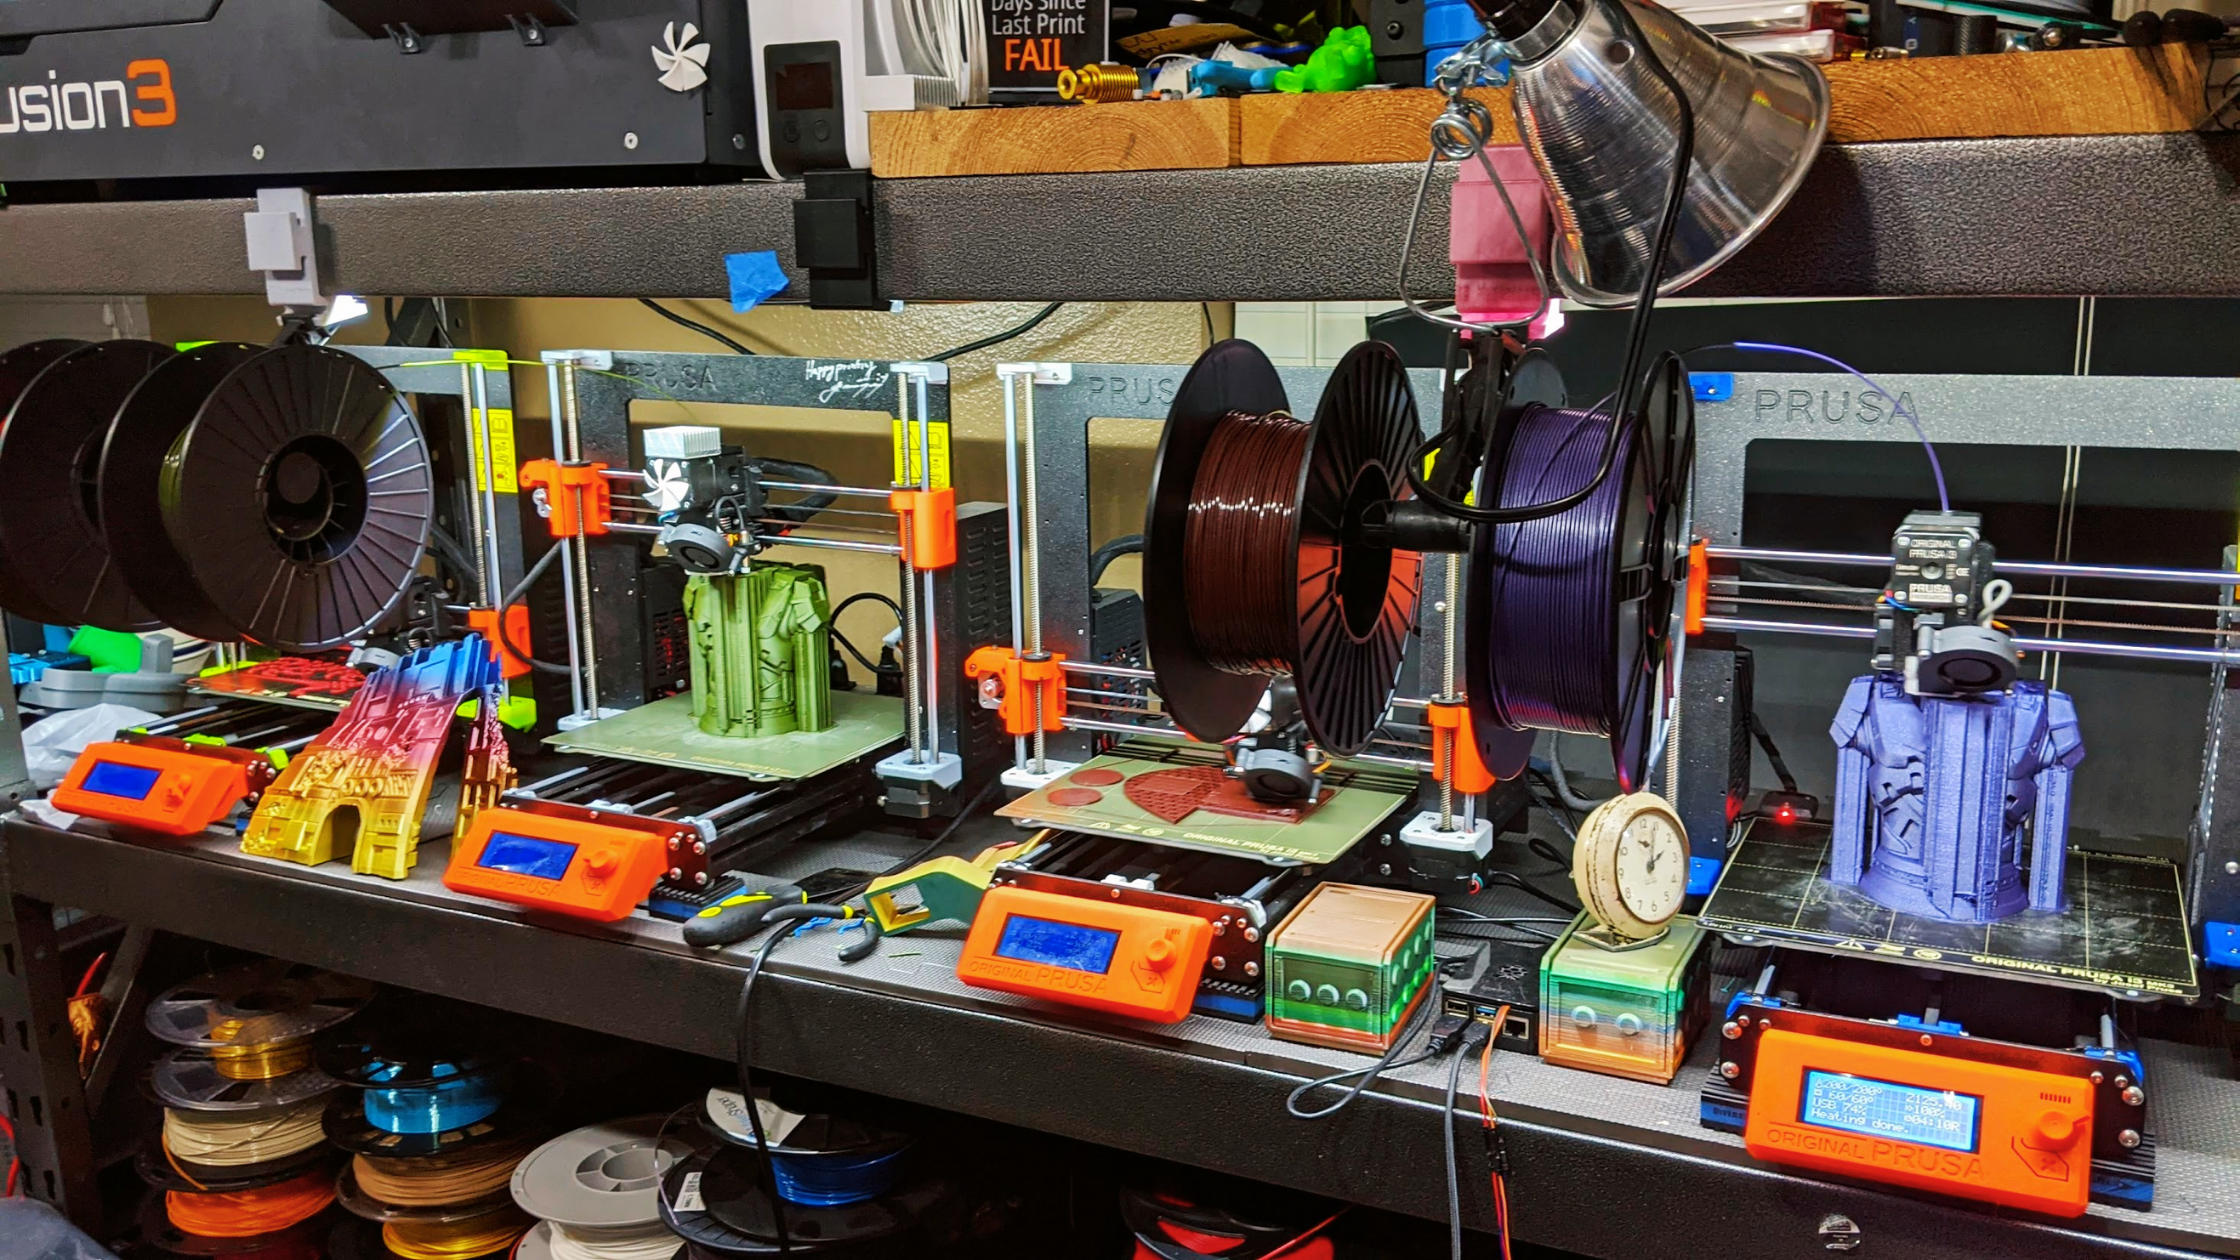
Sometimes called Fused Filament Fabrication (FFF), Fused Deposition Modeling is like a production-grade, multi-axis, computer-controlled hot glue gun.
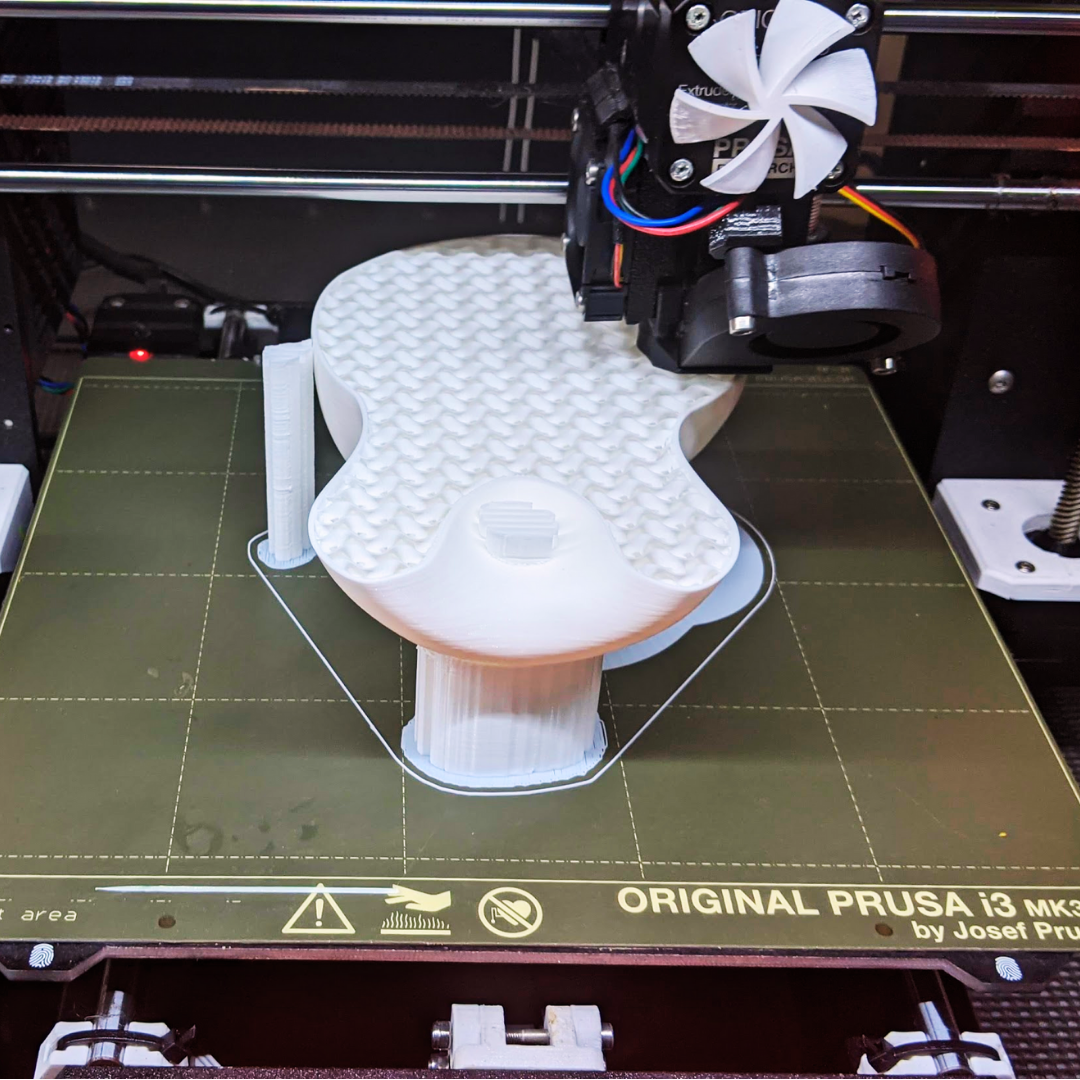
3D printing filaments, thermoplastic, enter heated nozzles that melt the plastic as it exits the other side. That molten thermoplastic creates a cross-section of the 3D object. More thermoplastic is added layer by layer until the print process is complete.
FDM thermoplastics include ABS, PC, PLA, nylon, and various blends.
ABS prints are versatile and tough. Some are even biocompatible materials, meaning the product meets the criteria to come into direct contact with food, skin, and medications.
PC-ABS is a blend that has mechanical properties such as high impact strength, heat resistance, and good flexural strength.
PLA (polylactic acid) is an environmentally friendlier option made from organic, renewable compounds. PLA is among the most common materials for 3D printing and is best for rapid prototyping and early designs of complex models.
Nylon has the highest flexural strength and stiffness-to-weight ratio. 3D printing applications of FDM nylon exist in the aerospace, automotive, recreational manufacturing, industrial manufacturing, and consumer goods industries.
What’s Selective Laser Sintering (SLS)?
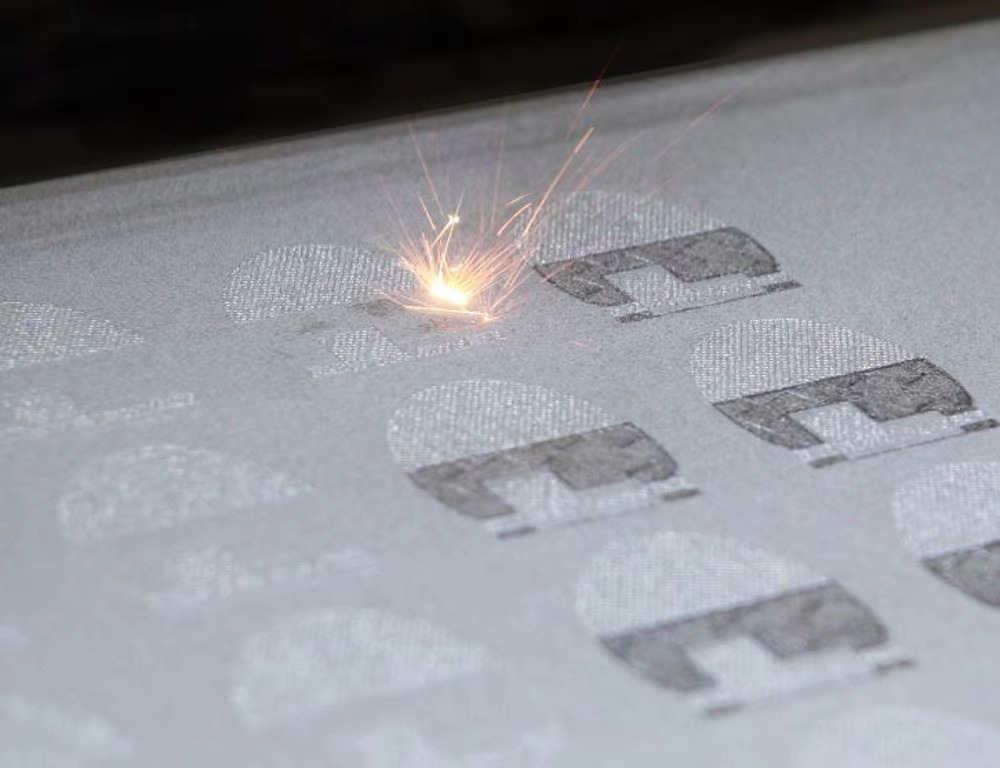
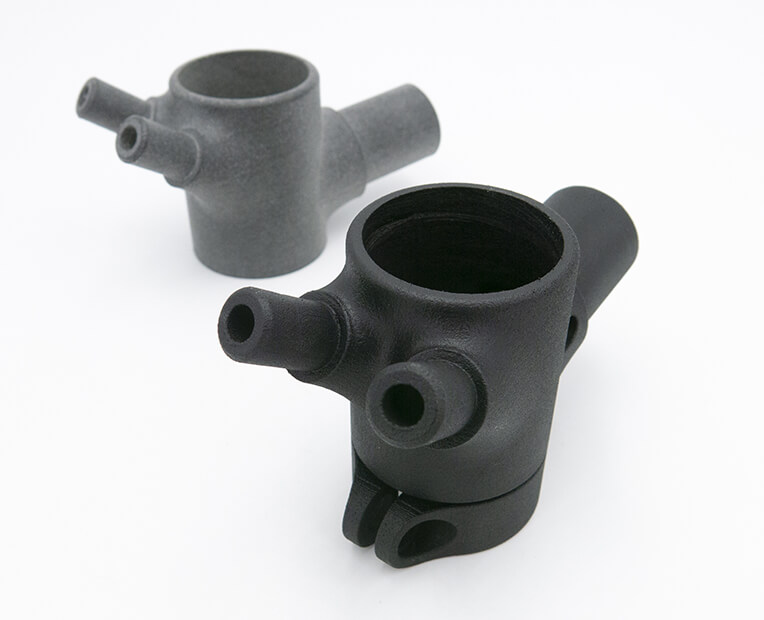
Selective Laser Sintering creates 3D models layer by layer with nylon powder.
A CO2 laser heats the surface and the material fuses together.
Nylon SLS parts are heat and chemical resistant, lightweight, intricate, and durable.
Nylon SLS parts are notably stronger and more durable than what SLA and FDM can provide.
SLS creates a better surface finish than FDM since no support material is required and is remarkable for intricate models and art pieces where support material would cause surface imperfections.
SLS is perfect for producing parts without the expense of tooling during the industrial prototyping phase that is necessary before committing to injection moulding and mass production.
What’s Multi Jet Fusion (MJF)?
Instead of a laser melting the nylon layers, this method utilizes an adhesive binding fluid that binds each layer of powder-form nylon through IR radiation.
Like SLS, no support material is required which causes better surface finishes when compared to FDM.
MJF is generally more affordable than SLS since the printer technology is faster due to not needing a laser.
This is also an ideal 3D printing technique for industrial prototyping.
What’s PolyJet (PJ)?
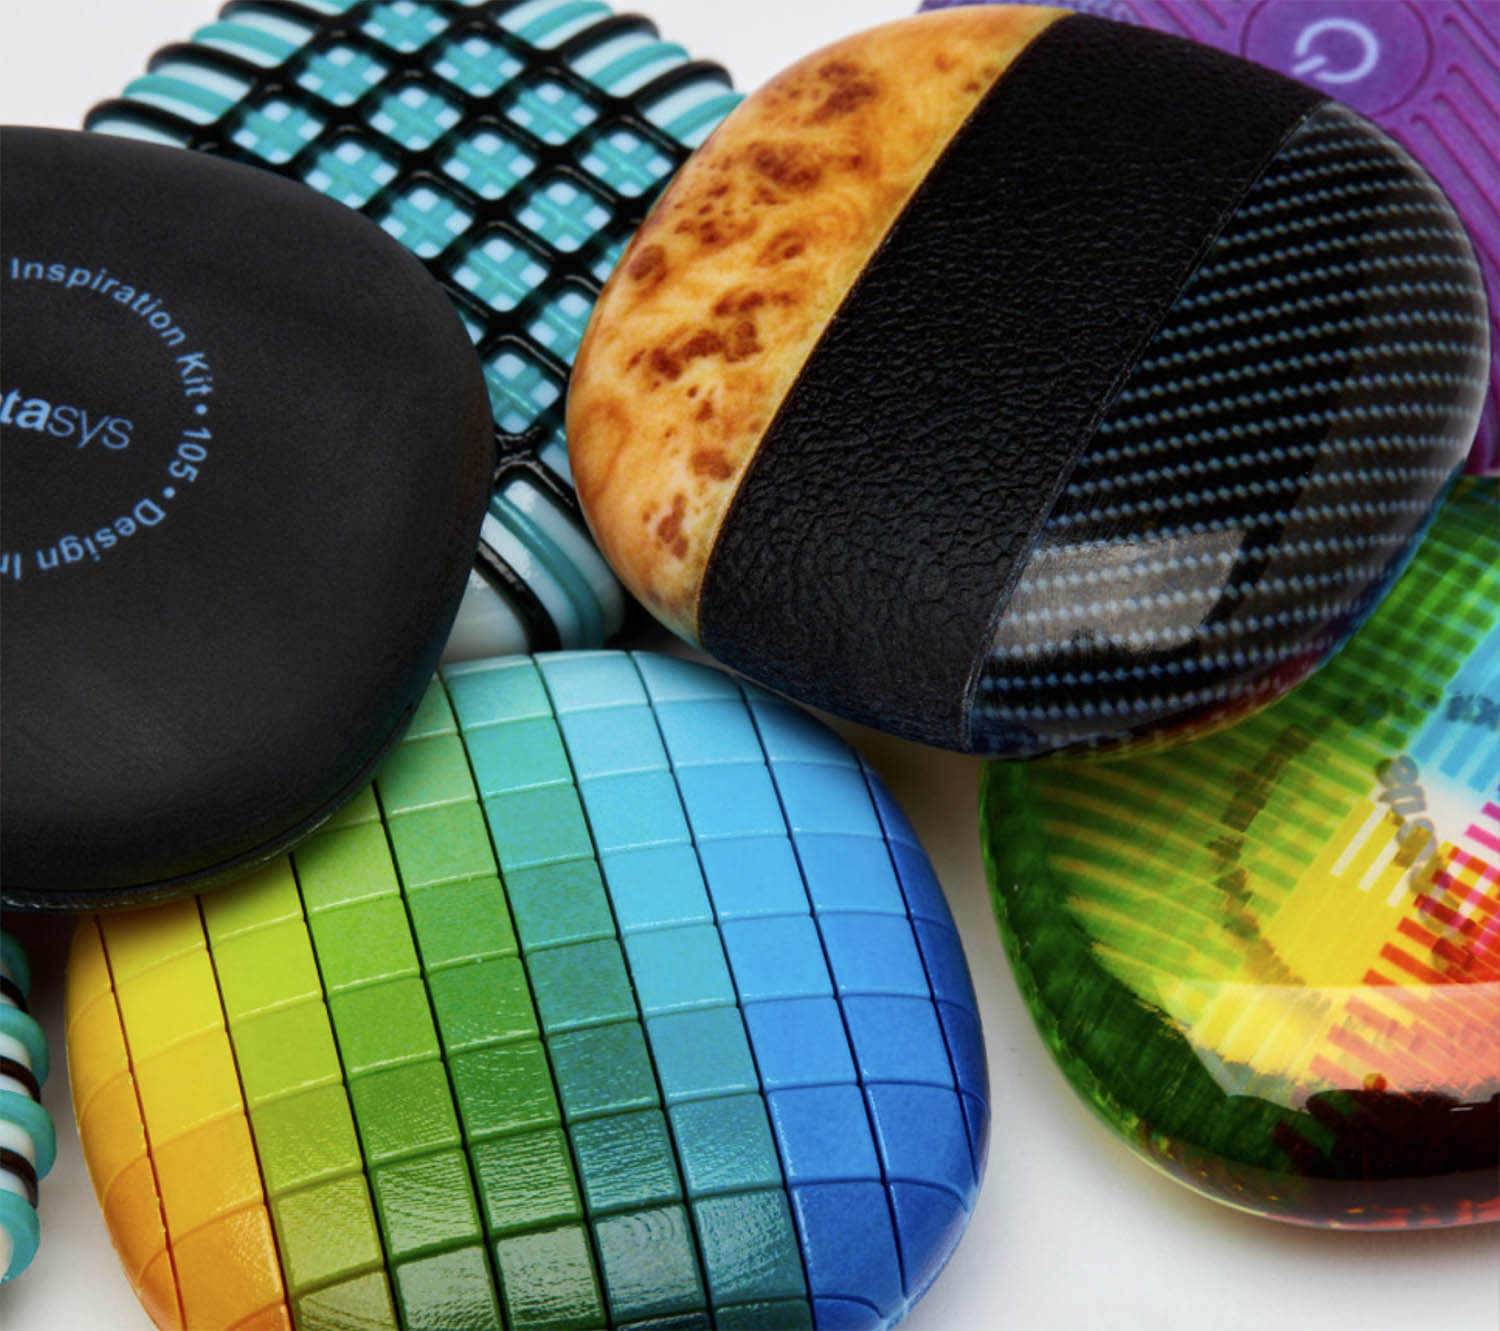
PolyJet combines inkjet technology with UV curable materials.
Multiple printheads precisely place droplets that are instantly cured via high-powered UV light.
After each layer, the print bed lowers slightly to make room for subsequent layers.
PolyJet produces injection-mold quality prints since the support materials are water-soluble.
Because of the fine layers, down to 16 microns, Polyjet, similar to SLA/MSLA is able to produce injection molding quality, but also in full color.
Is There Any Specialized Filament For 3D Printers?
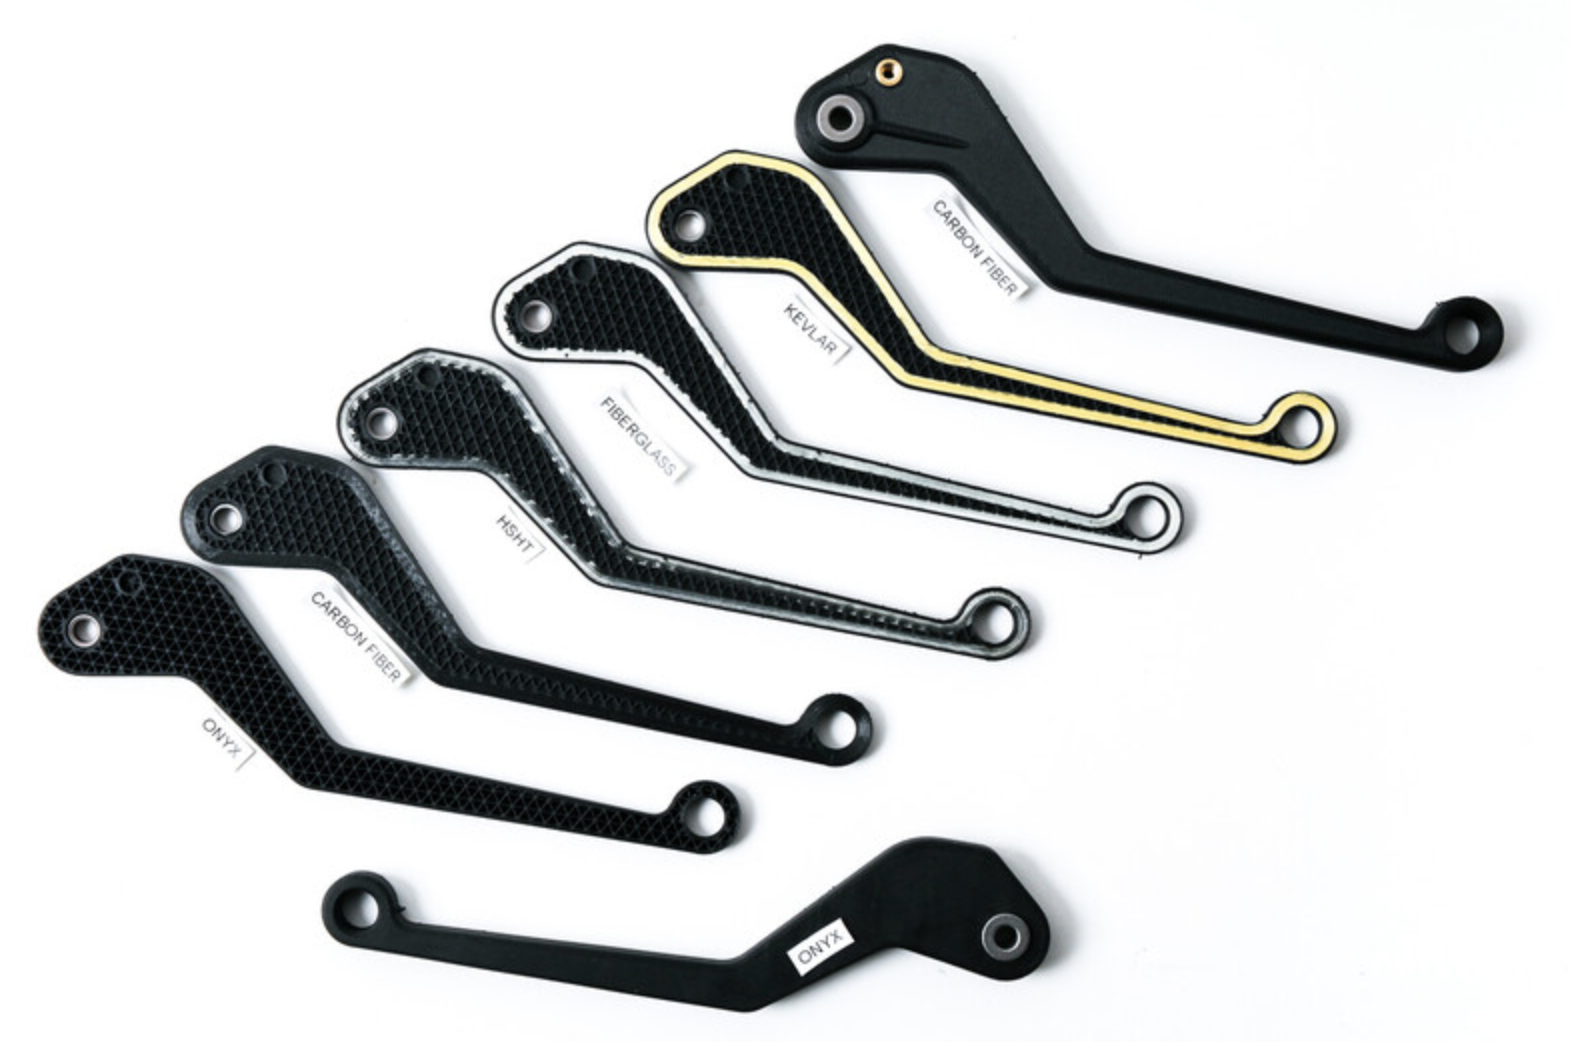
3D Printing Service Bureaus that use Continuous Fiber are utilizing composite materials such as Aramid Fiber (Kevlar®) and carbon fiber are commonly using Markforged printers. These enable parts made for high-stress applications possible.
Continuous fiber is best for 3D printing parts that need rigidity and strength.
Specifically, continuous carbon fiber print wall thickness must be at a minimum of 3 millimeters. Otherwise, the software will not allow the 3D printer to start the print
Continuous fiber prints such as Kevlar and carbon fiber are possible through the Markforged ecosystem.
What’s the 3D Printing Process?
The 3D printing process starts with a computer-aided design (CAD) 3D model that goes through a 3D slicer, which then sends printing instructions to the 3D printer.
CAD Software
Computer-aided design software is a critical tool to prepare a digital model for the 3D printing process.
Original 3D designs are developed in CAD software, but not every print job needs 3D models built from scratch.
3D scanners capture real-life objects and convert them into digital models.
These digital models, depending on the 3D scanner, are formed from:
- DICOM data
- Pointclouds
- Surface Models, or
- 3D Topologically Structured Data
CAD software cleans up the data to ensure that the 3D printer only prints what is necessary.
3D Slicer
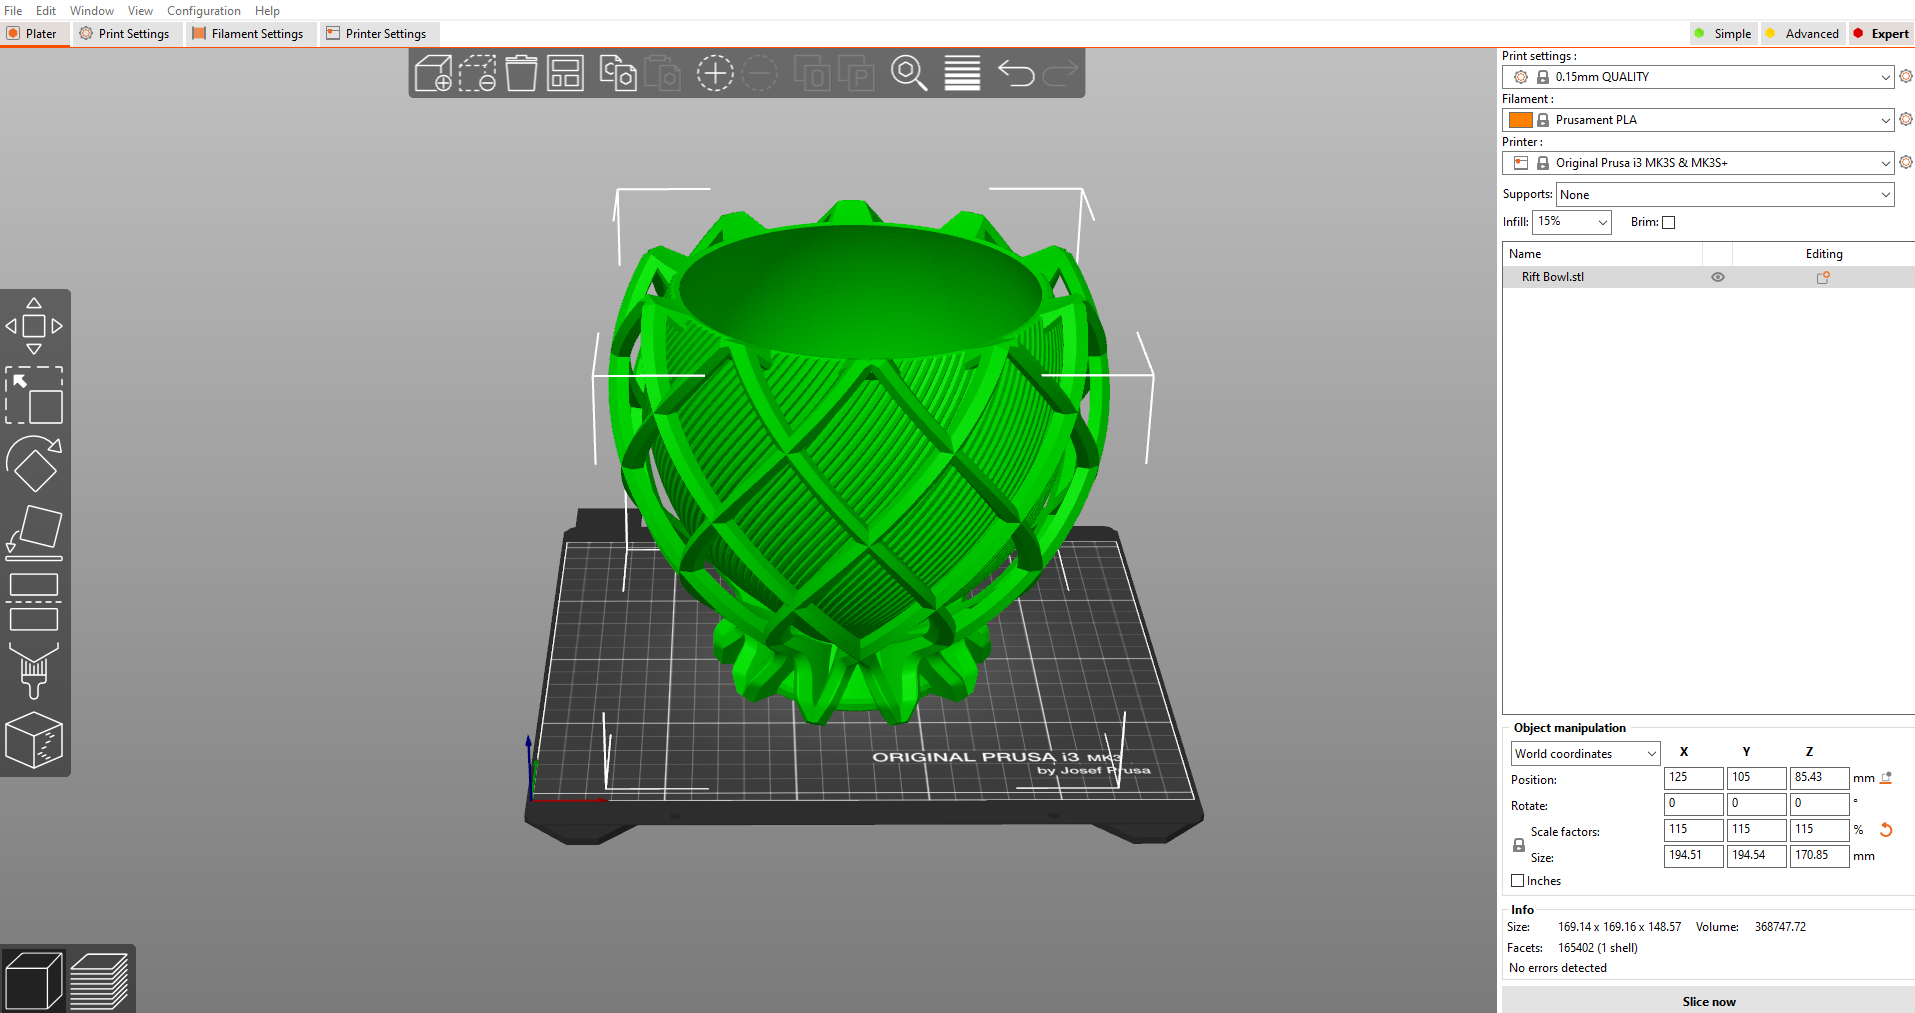
When the CAD model is ready to go the digital model needs to go through a 3D slicer program.
Look at this beautiful dish.

Now make it. Replicate this dish so that it looks exactly like this photo.
Nope! We’re not going to share the recipe with you.
Convert a beautiful dish into a recipe, and you can then replicate it with exact precision. That’s what a 3D slicer does!
Just as there are different ways to prepare the same dish, there are multiple parameters that a user may choose when 3D printing from 3D models.
The user decides what ingredients to use (temperature, platform adhesion, layer height, shell thickness, infill pattern, fill density, etc.) then slices the model.
The software processes the information and sends the “recipe” (the G-code) to the printer.
The 3D slicer process is fairly quick and typically takes up to 10 minutes.
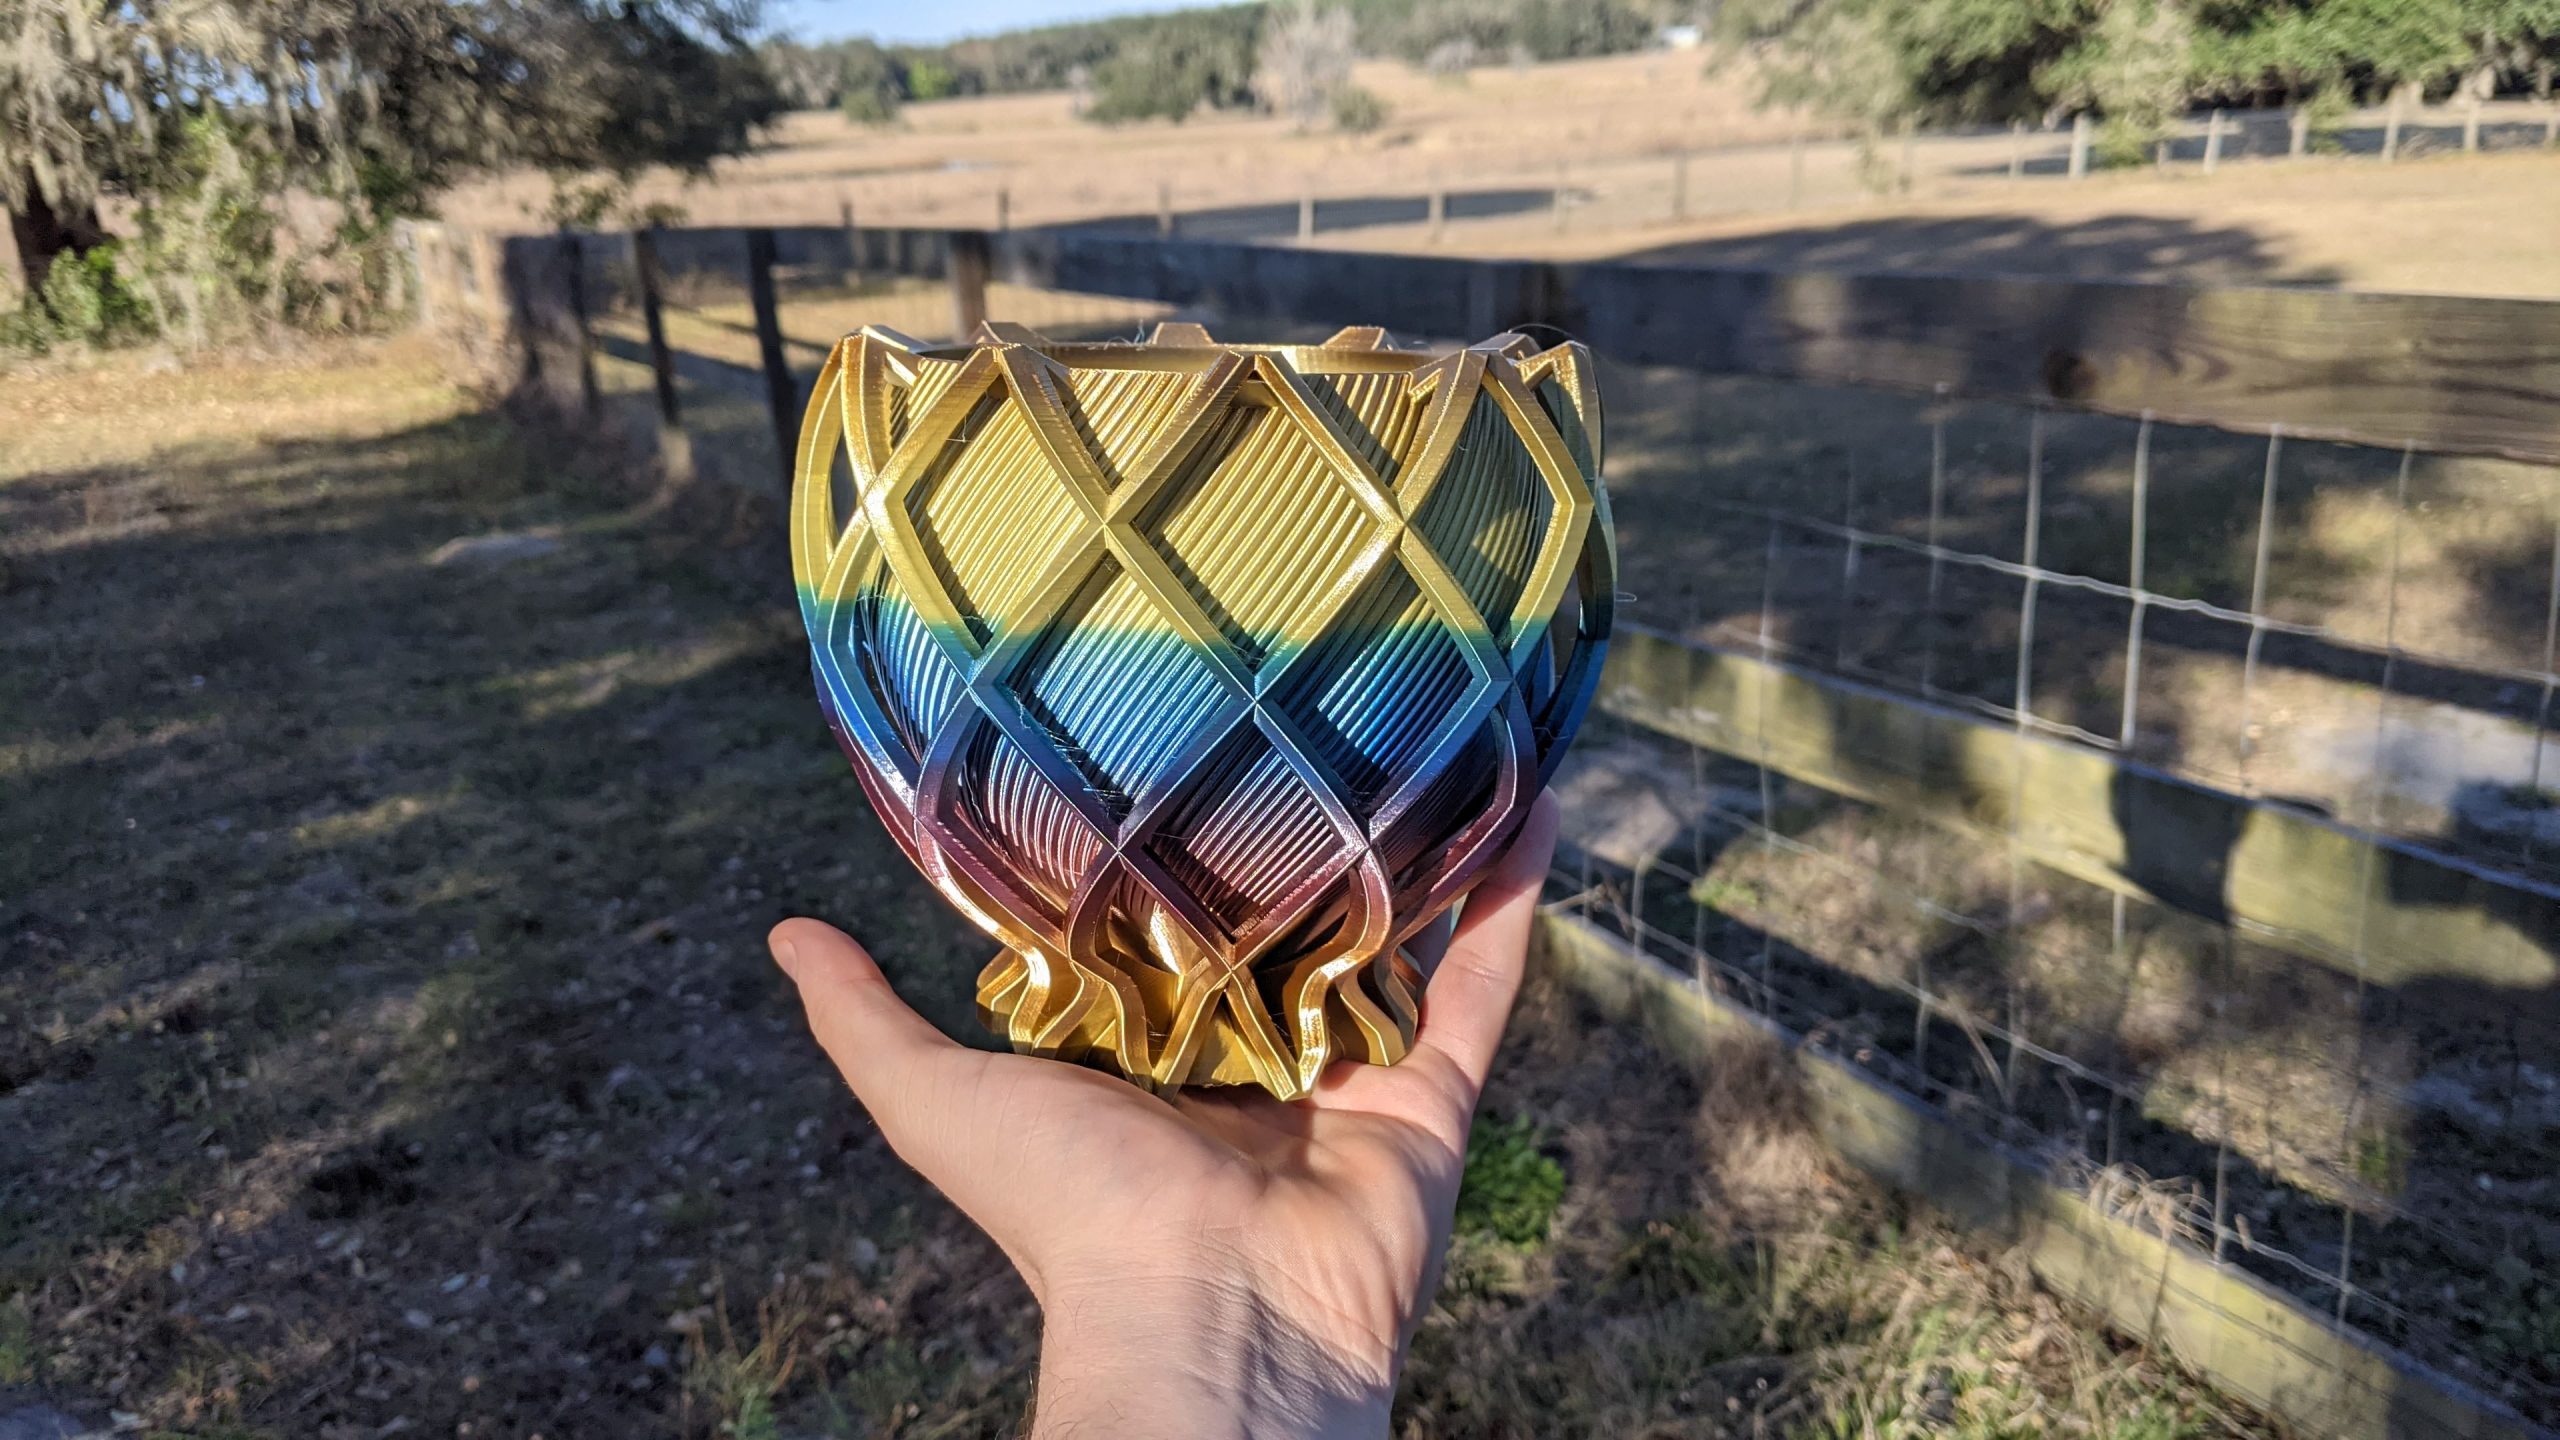
Print and Clean
“This recipe looks great! I’m going to make it just like that,” says the 3D printer as it reads the G-code.
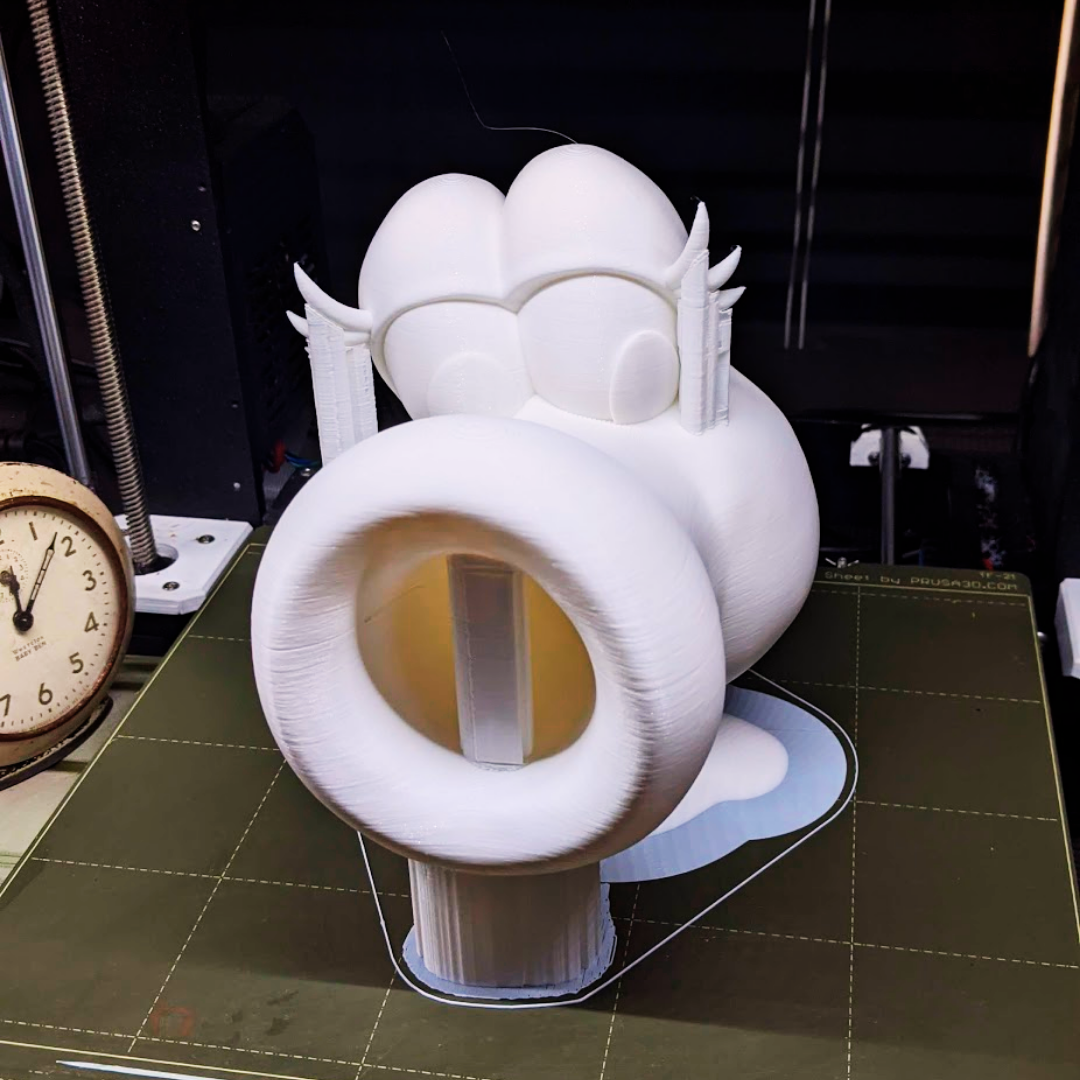
Some 3D prints require several days to complete depending upon their scale and complexity.
This full-scale psoas took 3D Musketeers 3 days to 3D print!
When finished, any support material must be removed from the 3D print.
The cleaner the 3D print then the better the quality of the final product.
For that reason, it’s best to avoid sanding prints to preserve as much detail as possible.
Conclusion
3D printing technology uses a wide range of materials with so many different processes!
We hope this guide inspires you to #MakeAwesome!

